Showing posts with label embroidery. Show all posts

Friday, 18 May 2018

How to Print Sashiko Stencils on Fabric


If you have been swept away with the Sashiko stitching craze (like me) you are probably looking for easy ways to transfer designs onto your fabric without the hassle of tracing out grids, or buying expensive templates.

I have found a fabulous way to transfer your design onto fabric using an ink jet printer (these are the ones generally used at home with ink that is water soluble) and freezer paper. Freezer paper is the old fashioned way to wrap and store meat in the freezer and can be readily found in the supermarket. If you have trouble finding it, you can make your own (and I'll go into these steps in another post).

You willl need:

  • Freezer paper
  • Scissors
  • Fabric (any light weight fabric will work)
  • Iron
  • Printer 


Step 1
Iron your fabric first to remove any wrinkles. You can work with any light weight fabric and I often use muslin (calico) because it is a good weight and it prints well. I often dye my fabrics before printing to create extra depth and interest, however plain fabrics work well too. The above sample was printed on indigo dyed muslin and the black ink contrasts well against the deep blue.

Step 2
Cut out a section of freezer paper to the same size of your printer paper (either 8.5"x11" or A4). I use a piece of printer paper as a guide or you could use card stock for something more durable.

Step 3
Place the freezer paper shiny side (plastic) down towards the fabric and iron it. The plastic will melt and adhere to the fabric.


Step 4
Cut around the paper making sure you have no frayed edges and that you are cutting close to the paper edge. 

Step 5
Place your fabric/paper into the printer facing the correct way. ie with my printer HP Envy 4000 I place it fabric side down with the paper side visible on the top. This ensures that the print goes on the fabric and not the other side. (if you get confused and accidentally place it the other way around, simply flip it and run it though the printer again)

Step 6
Press print! It should run through the printer ok and out comes an image printed on your fabric.

Step 7
You can peel off the paper and start sewing your design.

Step 8
I use a water base ink so that I can wash off the printed design after I have finished embroidering the pattern, however there are waterproof inks available if you wanted to have a permanent design.


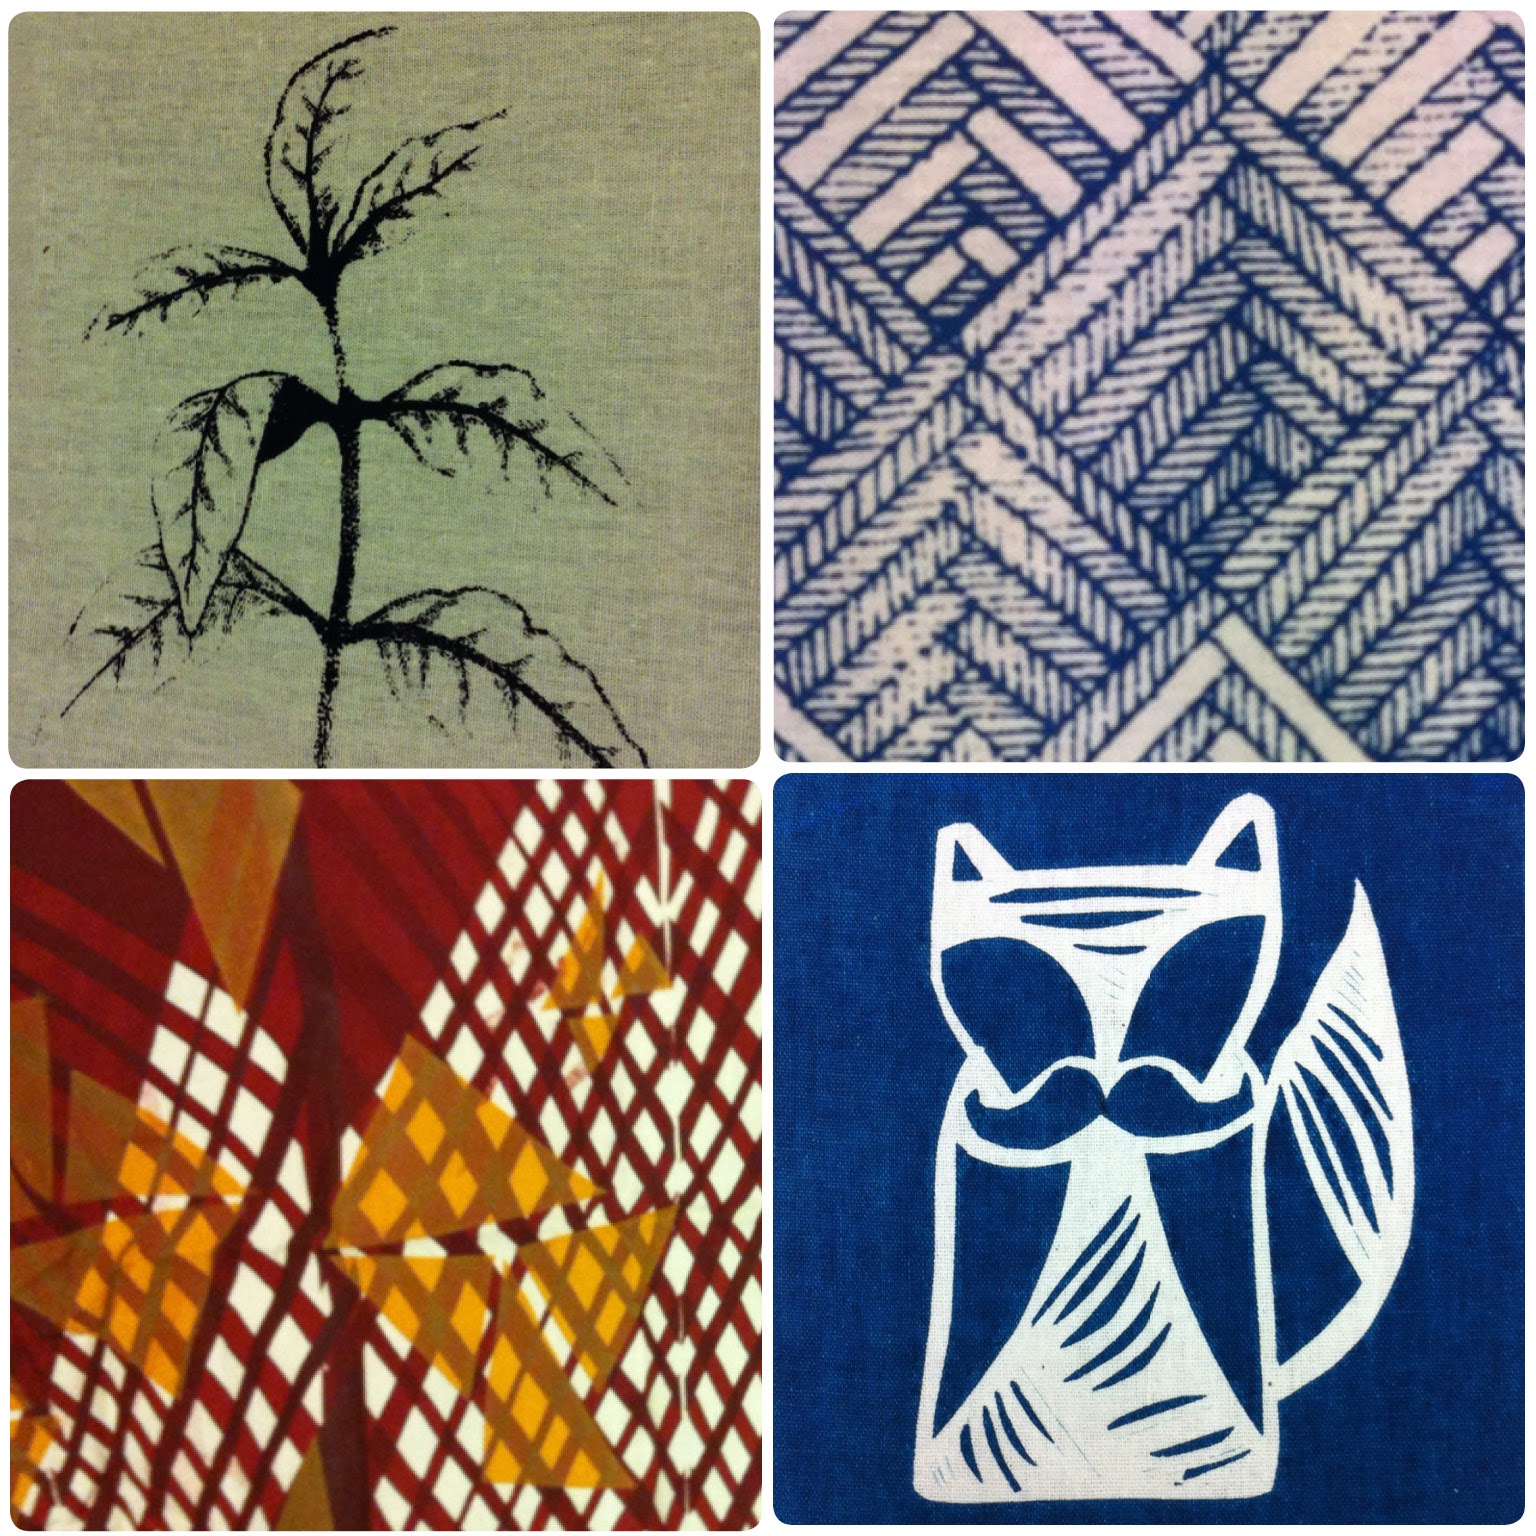
These are some examples of fabrics that have been printed using my inkjet printer. The one below you can see wasn't completely ironed onto the freezer paper and was wrinkled going through the printer. But it still went through ok without getting stuck!

You can find lots of sashiko stencils online to download onto your computer to print.


Happy Stitching!


Friday, 27 April 2018

Learning to Stitch : Five benefits of sewing


An example of layering stitching combined with initials
This week I taught a class of elementary students how to stitch. The students ranged from 5 - 12 years old, and for many this was their first experience of sewing.

There are many reasons why sewing is beneficial....

Pockets designed to hold sticks

1. Hand Eye Coordination 
Sewing with a needle and thread requires coordination, and is a great way for little fingers to learn that fingers help us feel and see. Practicing these skills keeps our brain as nimble as our fingers. 

2. Sewing is Creating
Choosing the colour of material and thread is an act of creativity and it is delightful to see the colour combinations chosen. Getting creative by making these choices means we are engaging our brains in creative thought which is great for the mind. It also assists with boosting our confidence as we learn to trust our choices.

3. Environmental Impact 
Learning to sew on buttons or repair holes saves clothes from being thrown away. According to the Huffington Post a devastating 85% of our clothing ends up in landfill. By lovingly repairing our own clothes we are more likely to continue to wear them and cherish them for longer.  

4. Emotional Wellbeing
Sewing can be therapeutic, which leads to being calmer, happier and relaxed. It encourages a state of mindfulness, awareness or meditation. 

5. A Sense of Accomplishment
The best reason for learning to sew is the sense of accomplishment that comes from creating something handmade. 


Layers of colour

Tree embellishment on pocket : work in progress


Even the teachers got involved and commented on
the meditative qualities of stitching

These days our lives are so busy I feel that it is such a treat to be able to sit still and sew,  listening to the sound of the thread as itpasses through the fabric, feeling the textures on my fingers whilst letting my mind drift. The humble act of sewing and repairing is becoming a sought after experience - and can be a meditation retreat in our own home! 

These are just some of the benefits sewing can offer that I can think of - and I'd love to hear from you too. What are the benefits of sewing that you have recognized on how it can impact positively on your life? Leave a comment below and let me know. 


Friday, 20 April 2018

Fibre Arts at NSCAD

SeaWeed inspired necklace,
felt and embroidery
by Allison

Every week in class we begin with show and tell - where my students bring in the projects they are working on that demonstrate the techniques they have learnt. 

Allison, a marine biologist, is inspired by the shapes, colours and textures of seaweed. She is creating a necklace using felt and embroidery to achieve her desired result. 

I think it is fabulous!

Thursday, 2 November 2017

Zen Stitching at NSCCD

Alice

Embroidery can be a traditional, sustainable, and simple repetitive act, allowing time for reflection and bringing a meaningful and thoughtful approach to textile practice.

Pauline

The Zen Stitching course allows students to explore ways in which to slow down by using simple techniques, reusing and re-inventing materials and limiting equipment. It is a treat to make time to sit and enjoy the reflective state as you get into the flow of embroidery. The sound of the thread passing through the fabric is therapeutic and it is exciting to watch your design grow with each stitch.

Louise

Taking the time to think about the practical and decorative techniques of mending last weekend I demonstrated a variety of stitches including: running stitch, back stitch, stem stitch, satin stitch, daisy stitch, and french knots; to name a few. 

Jenny

During the workshop I was asked about the creative process and some of the students were looking for inspiration to get their creative juices flowing. A sketch book is incredibly important for jotting down ideas (handbag size is great so that you can carry it around with you) and I quite often use the camera on my phone as an 'aide memoir'.

Studies have shown that walking in nature assists with creativity and I always encourage others to explore their 'what if?' questions and to make mistakes, as often it is within the mistake that the magic occurs.

Wendy

I also demonstrated Sashiko, a form of Japanese folk embroidery using a variation of running stitch to create a patterned background. The word sashiko means little stabs and refers to the small stitches used in this form of needlework. 

Looking for quick ways to transfer the design onto fabric to stitch, I found a great technique where you iron freezer paper to the back of fabric (to make it stiff like paper) and then you can run it through an ink jet printer. For full details visit https://thegraphicsfairy.com/print-fabric-freezer-paper-method-2/

Sashiko demonstration on my stitch diary / sampler 

As always, I get inspiration from the students in my class and I am adding to my own stitch diary / sampler (above image).


Friday, 23 June 2017

Stand Back 5 Feet - Paris Exhibition

Study of the Object
Cotton on silk organza 

I was invited to participate in the exhibition “stand back 5 feet/ tenez vous à 5 pied en avant” by curators Evan Peacock, NSCAD MFA candidate and Levana Schutz, a visiting exchange MFA student from the BeauxArt academy in Paris. They proposed a double exhibition between the Atelier Rhème exhibition space in Paris and the Anna Leonowens gallery in Halifax. The shows will feature work exchanged by artists from both locations.

Artists have been asked to respond to the title of the show with a new work. Although this name maintains relevancy towards the mathematical space between Paris and Halifax, the title primarily refers to the ephemeral state of meaning caught between two languages and two spaces. This occurs through movement, distance, and translation. Perfect translations will not be possible. This offset between the movements of languages is the focus of “stand back 5 feet/ tenez vous à 5 pied en avant”. 

Study of the Object
Hung on window in studio
Cotton on silk organza

In response to the conceptual theme I have started creating work that explores binary code translated into stitch (using french knots and running stitch) onto silk organza, which through the very nature of translating code into stitch the reading of this is lost or at least difficult to understand. 

My favourite poem by Zbigniew Herbert called Study of the Object has been decoded by thread.  Whilst I am not entirely sure of the final outcome, it is likely it will be combined with digital imagery in some way.


Friday, 16 June 2017

PIN 7 exhibition at ANCA Gallery, Canberra

#178
Felt, cotton, stainless steel wire, purple turquoise

I am delighted to share with you that my work will be featured in PIN 7, is the seventh annual brooch exhibition at ANCA Gallery in Canberra, Australia. The pins continue to explore the theme 222 Grips for a stone, a 2 year fascination and investigation of different ways to 'grip' a stone. In this part of the series, the stones are semi-precious, and a variety of stitching methods have been used to fasten them in place.

# 174
Felt, cotton, stainless steel pin, quartz crystal
The concept of reducing scale and honing in on a wearable miniature platform appealed to artists from a broad range of practices including sculptors, printmakers, painters, ceramicists, silversmiths, machine makers, photographers, wood workers and glass artists. Following the success of the
inaugural exhibition ANCA ran ‘PIN’ exhibitions in 2012 (rePIN), 2013 (PINup), 2014 (PINHaH4), 2015 (sPIN) and 2016 (PIN SIX).
 
#175
Felt, cotton, stainless steel wire, opalite 
ANCA Gallery is running this hugely popular exhibition for the seventh time in 2017. PIN 7 will be exhibited at ANCA Gallery from Wednesday 28 June to Sunday 9 July 2017. 
#177
Felt, cotton, stainless steel wire, quartz druzy and Nova Scotian pebble


Thursday, 8 June 2017

Zen Stitching : Embroidery as Textile Art


Few of us have the luxury these days to idly sit and contemplate, dwelling within the present whilst being creative with our hands. Zen Stitching aims to provide some space and time where we can learn the traditional techniques of embroidery whilst at the same time allowing ourselves to slow down. 

Sampler of some of the techniques covered in the workshop

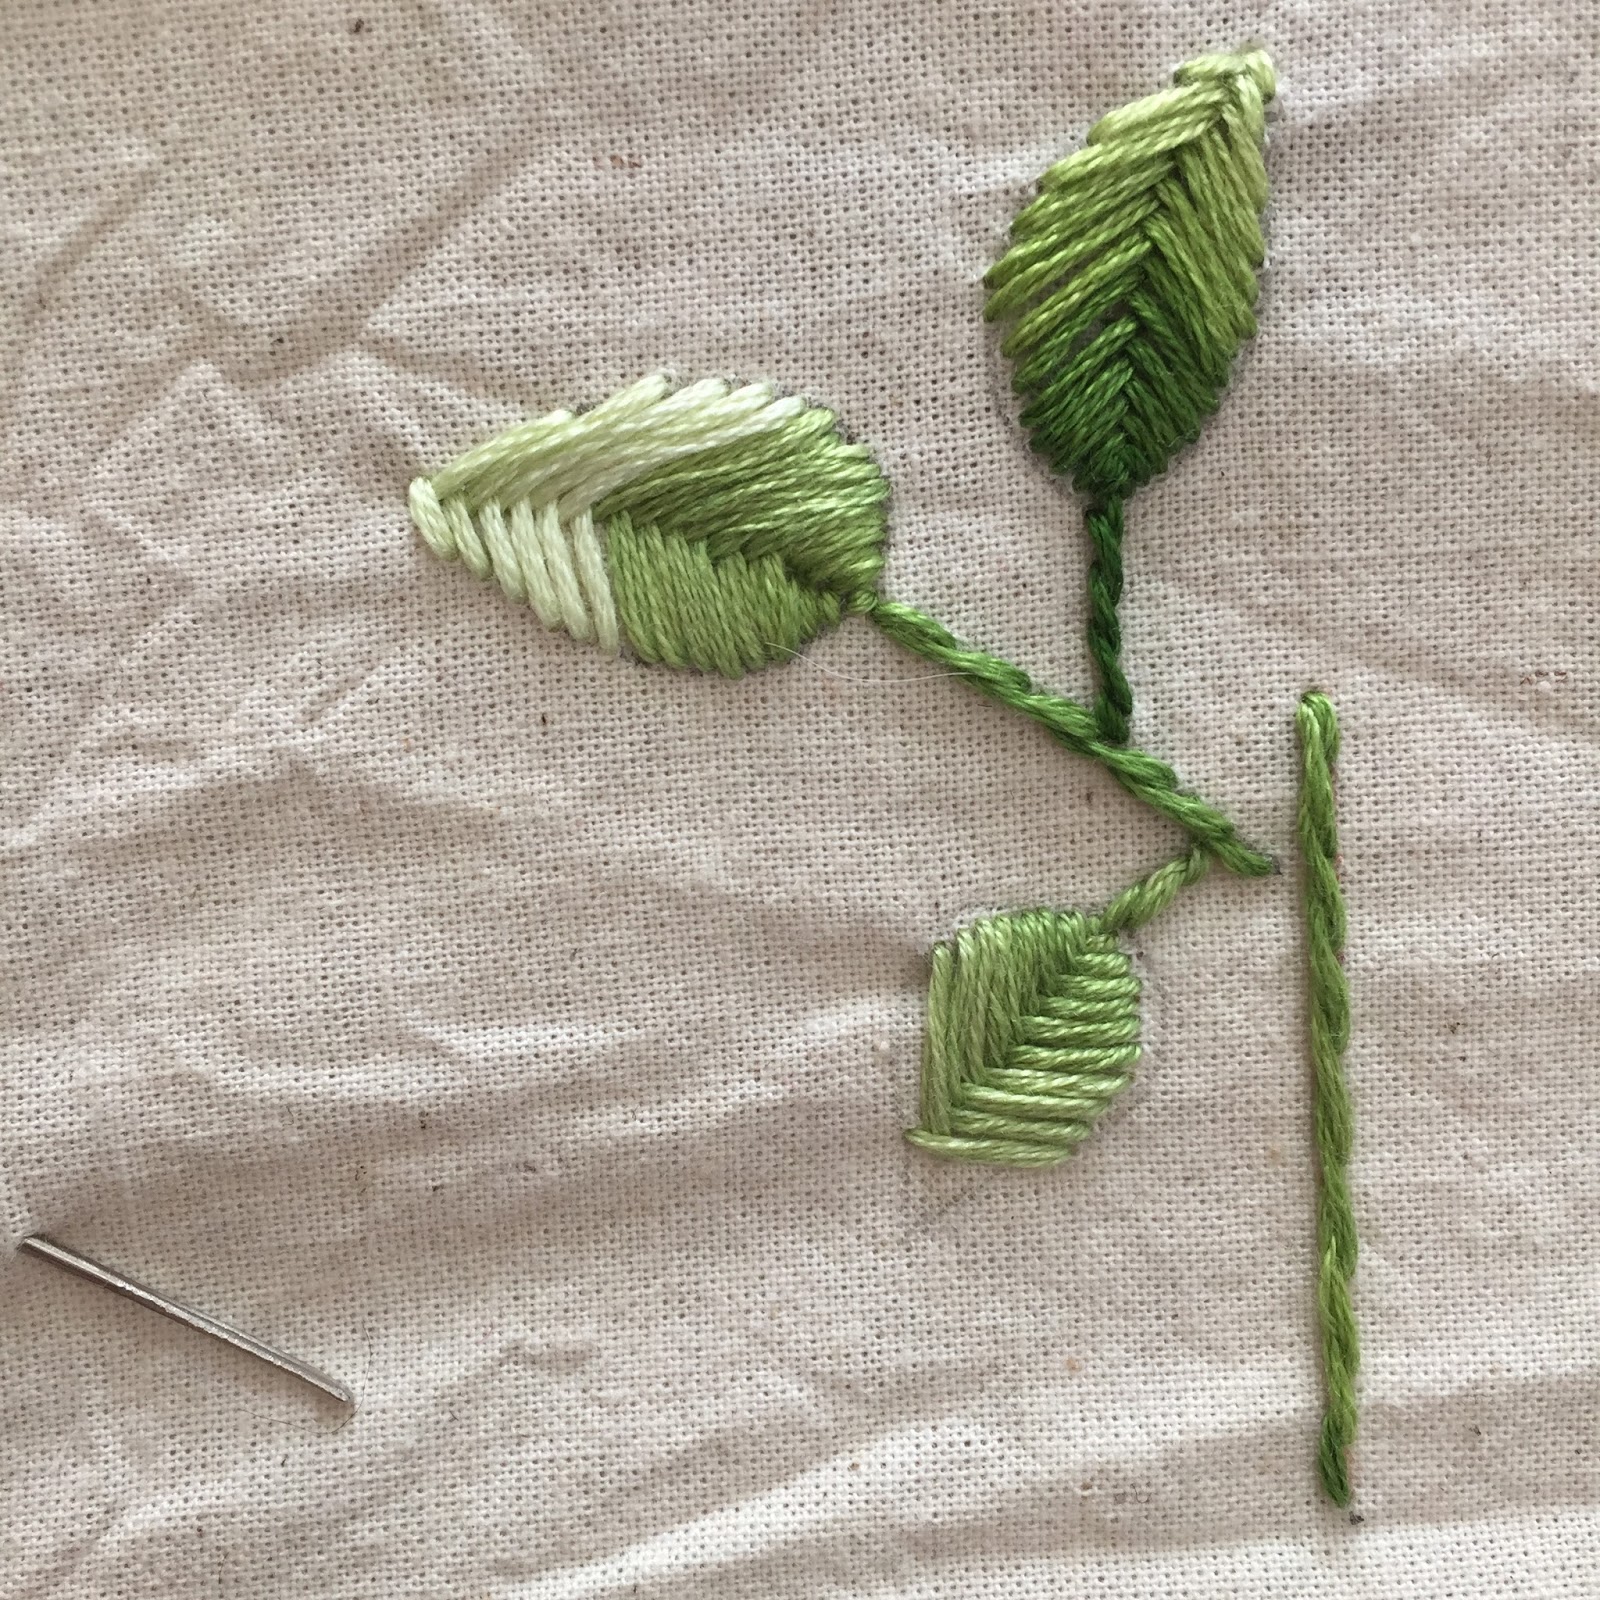
I have just completed a 2 day weekend workshop at the NSCCD where we explored a number of stitches (running stitch, back stitch, chain stitch, stem stitch, blanket stitch, satin stitch, leaf stitch and french knots to name a few!) 

The reverse side of the embroidery is just as interesting as the front

One of the participants asked how to cover the reverse side of the embroidery when using the hoop to display the embroidery. As a textile artist, I am just as fascinated by the reverse side of the material and when observing textile pieces in a gallery will try to peek behind it to see the back. Quite often this will reveal how a piece is put together - and it is just as interesting, although in a slightly different and messy way. In some senses I can relate this to life (and particularly on social media these days) how we present ourselves to the world, can quite often be the reverse on the inside. 


Being fortunate to have grown up in a family where embroidery was taught at an early age, it is an art form I return to periodically. Having just dedicated the time to share these techniques at the workshop I now have the bug to continue working on my sampler / cloth journal and create a bit of Zen magic. 

Thursday, 2 April 2015

Patchwork Fence (working title)

One of the things that I love about farm fences are the ingenious methods that they are fixed and repaired. Generally using little more than a bit of wire, they are stitched and patched to mend the holes.

Inspired by these methods I created a patchwork fence 'necklace' using fine and sterling silver.

Photography by Nasia Vayianou  

The fences were constructed exploring different methods such as fusing (where the silver melts together to join rather than the use of solder to 'glue' it together), milling the silver so that it is almost as thin as aluminium foil, piercing and weaving. 


The milled silver has a lightly textured surface.


When worn on the body it has a certain 'armour' like quality, and it reminds me a little of the notorious bushranger, Ned Kelly's suit of armour. 

Image from National Museum of Australia


Thursday, 1 May 2014

Coptic Binding

Something I have wanted to try for quite some time was to make a book using the coptic binding stitch technique. I have wanted to learn this technique since I saw it at the Tasmanian Art Fair in 2010. The Third Door had some beautiful examples of coptic binding and I was entranced by how they lent themselves to draping and that the opened flat which is perfect for a sketch book.

Coptic binding

Coptic binding was used by early Christians in Egypt and examples can be dated back to the 2nd century AD. It is a method of joining sections of parchment, papyrus or paper using chain stitch linking across the spine.

I had some spare time recently so I decided to teach myself the technique. Using some fabric scraps, I created a cover that alluded to what the content of the book will be (this will come at a later stage).

Fabric embroidered cover
 For those who have been following my blog you will recognise Kochira the Cat Kelly (in the style of  Australian artist Sidney Nolan's Ned Kelly, the famous Australian bush ranger) who features in my animation, The Drive.


The decorative binding


I really enjoyed making the book, and plan to make a few more when I have some more spare time.

If you would also like to give this a try I found the following sites very helpful:
- Coptic binding directions illustrated by pictures 
- Coptic binding tutorial on Youtube. 11 mins long.

Thursday, 24 April 2014

The Travellers - Antique Kitchen Strainers

The Travellers
Photography by Christina Arsenault 

At the beginning of the year I found some delightful antique kitchen strainers and I immediately fell in love with their shape and form. I wanted to incorporate them into my artwork and create something beautiful with them.

Incorporating metal wire (copper, brass and silver plated that has been patina'ed) each antique strainer contains or carries a machine embroidered heart, that is incased in a resin house shape.


They certainly have character and have developed a life of their own. They became the inspiration for some stop motion animation, ending up in my 3 and a half minute animation, The Drive.

Finally I have finished a family of three 'Travellers'. Here they are


The Travellers
Photography by Christina Arsenault 

The Travellers
Photography by Christina Arsenault 

The Travellers
Photography by Christina Arsenault 


Thursday, 10 April 2014

Resin and Machine Embroidery

Heart houses 2.5 x 4 x 2.3 cm

I have been experimenting with machine embroidery, hand embroidery using reflective thread and embedding it into clear resin.


landscape embroidery embedded into a shape created from an antique hand saw

To create my own resin moulds I have been using a two part moulding paste (Pebeo silicon moulding paste) where you mix equal quantities of the blue and white paste for a minute until a uniform colour appears. It is quick to use and sets in about 5 minutes and is a little like working with oily Fimo (or polymer clay).

two part moulding paste house moulds

And I have worked with 2 different brands of resin: Pebeo Gedeo Crystal Resin and Castin' Craft Clear Polyester Casting Resin. Interestingly there was quite a bit of difference between the two. 

Pebeo Gedeo Crystal Resin took 24 hours to cure, was frosty where it came into contact with the mould and relatively smell free. I quite liked the 'softness' in the quality of the frostiness of the Pedeo Gedeo Crystal Resin, it is reminiscent of the sea washed glass you find on the beach. 

Castin' Craft Clear Polyester Casting Resin cured to the touch in less than 24 hours, was crystal clear even when it came into contact with the mould and was incredibly smelly. This one definitely needed to be used in a well ventilated space!  

House embroidery
embedded into the shape created from an antique hand saw

Whilst working with resin I discovered that you can:
  • sand it with sand paper (this gives you a frosty look) and also helps even out any unwanted lumps and bumps
  • paint it clear varnish (I used nail polish) which turns the sanded areas clear again 
  • speed up the curing time by placing it in a warm oven (preheated to 80 degrees C for 15 minutes) this process also encourages any bubbles to come to the surface and disappear

Thursday, 21 November 2013

Printing fun at Megalo

I have just finished teaching a 6 week block of Introduction to Screenprinting on Fabric at Magalo's new facilities in Kingston. The new space is amazing and such a pleasure to be in.


And of course, I had a ball sharing my knowledge and passion with 8 keen soon-to-be-addicted-to-screenprinting participants.

Screenprints and images by Kahlea 
I always love how diverse everyone's designs and images are, and printing onto textiles lends itself so nicely to repeat motif printing.

Screen prints and images by Muzi
There was lots of experimental works being created, including Paal's printing onto old tea towels and doilies and achieving great effects, Muzi's striking colour combinations in geometric prints and Kahlea's fabulous patterns.

Screenprints and images by Paal
I got so carried away teaching that I often forgot to capture the creativity. A big thank you to Paal, Muzi, Kahlea and Mandy for sharing your images with us.

Screen prints and image by Mandy 
Mandy's image above is a great example of the different sorts of effects paper stencils (using both the positive and negative cut outs), and combining it with a line drawing that was translated using photo emulsion techniques.

Sam, Barbara, Ngaire and Claire also created some beautiful artworks which I hope to share with you soon.

LinkWithin

Related Posts with Thumbnails