Showing posts with label sterling silver. Show all posts

Wednesday, 1 February 2017

Art Jewellery Today 4


Im delighted to share with you the publication that has recently been published that features a 3 page spread of my work, Art Jewellery Today 4.

Compiled and edited by Sandra Korinchak, editor and writer who has over twenty years of experience in the subject areas of art, crafts, and jewellery, the book features delicious large colour images of the works, and an artist statement for each artist.

Featuring 72 hand picked artists from across the globe, the hardbound book is a lovely collection of works by contemporary jewellery artists.


Im delighted that I was selected to be part of such an amazing publication. 


This is a sneak peak of one of the pages in the book. 


Sunday, 4 December 2016

The Contemporary Jewellery Exchange 2016

Earlier in the year I was selected to participate in the Contemporary Jewellery Exchange 2016. The exchange has been running for a couple of years now. It is an art project where 370 artists from all over the world were paired and asked to create a unique contemporary piece of jewellery for each other. 


Walking on Eggshells
Bone, Keralfex porcelain, sterling silver
39 x 9 x 1 cm
I was paired with Stephanie Ormon, from the UK, who also works in a diverse range of materials to create jewellery.

Bone detail
When we have completed the project we are asked to wrap it and I chose to use one of the furoshiki cloths created in the class I taught a couple of weekends ago. The recyclable wrapping cloth is made of cotton, shibori techniques are used to create the pattern with indigo dye.


I can't wait to receive my piece from Stephanie!


Thursday, 2 April 2015

Patchwork Fence (working title)

One of the things that I love about farm fences are the ingenious methods that they are fixed and repaired. Generally using little more than a bit of wire, they are stitched and patched to mend the holes.

Inspired by these methods I created a patchwork fence 'necklace' using fine and sterling silver.

Photography by Nasia Vayianou  

The fences were constructed exploring different methods such as fusing (where the silver melts together to join rather than the use of solder to 'glue' it together), milling the silver so that it is almost as thin as aluminium foil, piercing and weaving. 


The milled silver has a lightly textured surface.


When worn on the body it has a certain 'armour' like quality, and it reminds me a little of the notorious bushranger, Ned Kelly's suit of armour. 

Image from National Museum of Australia


Thursday, 5 March 2015

Pioneer Landscape Ring

Our second major assignment for Advanced Techniques in jewellery was to create a sculptural ring that incorporated tube settings.

Continuing to explore my interest in pioneering Australia I chose to design a ring that referenced the landscape. I was also looking to incorporate other materials and so I wanted to work with plexiglass and also parts of an antique saw blade I had acquired.

Pioneer Landscape Sculptural Ring detail
Working with my fascination of light and transparency I used the plexiglass to create mountain landscapes, with sections of the saw blade to refer to the manual labour required to eek out an existence in the Australian bush. The silver casing was textured to also refer to the terrain.

I carved rough hewn nails in wax that were then cast in silver. These became the place to slide your fingers through and are in essence the 'ring' part of the sculpture.


Originally I was planning to set gems in the rivet holes that hold the plexiglass and saw blades within the sterling silver casing, however as the design progressed this was not possible. So I added the chain which connects to a cast silver nail at one end, and the end of the saw blade at the other. The chain can be wrapped around the wrist with the saw and nail dangling like charms from a charm bracelet. 

It was onto this piece of steel that I fused 24k gold spots, soldered the silver tubes and set Andalusite gems within them. Andalusite is a beautiful stone that looks green in some lights, and a light pink in others.  

It was incredibly exciting to be working with found objects, rusty steel and gold and it has led to many ideas that I wish to explore! 


Thursday, 12 February 2015

Tube Setting Gems

This week I have been practicing tube setting in jewellery. Tube setting is very similar to what the name implies, that is setting a gem in metal tubing.

In some ways it is very similar to a bezel setting, in the sense that a wall of metal encases the gem.
But with a bezel setting you start out with a flat piece of sheet and bend it around the gem, opposed to starting with a tube.


Never happy just to make a sample for the sake of a sample I decided to make a ring using a design I have been wanting to make for quite some time. 


I had 2 very pretty garnets that were the exact size for the sample that we had to make. 4mm in diameter. This is how it turned out. One of the exciting things about this design is that it also stands up - creating a 'traffic light' sort of look. 

A friend also said that it looked a little like the emoticon of the face with the tongue sticking out. Like this :p 


Note the bandaid on my finger - an injury sustained from jewellery making of course! A friend of mine who is the most amazing jeweller has a little tattoo on her finger from a similar cut where silver got trapped. I think it is the coolest accidental tattoo ever!

Thursday, 5 February 2015

Runcible Spoon

Our first big project for Advanced Techniques Jewellery class was to make a Runcible Spoon.

Runcible was a term first coined by Edward Lear in 1871 in the poem The Owl and the Pussycat in the third verse.

They dined on mince, and slices of quince, 
Which they ate with a runcible spoon;   
And hand in hand, on the edge of the sand, 
They danced by the light of the moon, 
The moon, 
The moon, 
They danced by the light of the moon.

It is a nonsensical term and we were asked to design a spoon for a nonsensical purpose, which included a bezel setting.

With my interest in pioneers and landscapes I decided it could be fun to make a mini shovel which could for digging yourself out of trouble, or perhaps digging yourself deeper into trouble. Playing on the colloquial saying 'keep digging'.


Of course, not content with using hard stones which are easier to set (because they don't break) and only silver, I decided to incorporate opals I had bought in Australia at Christmas. I wanted to use opals because they are uniquely Australian, they are my birthstone, and they are made up mainly on solidified water. They are also considered a soft stone, and will chip easily.


I also wanted to make the bezel setting out of gold, because the warm colour of the metal enhances the colours in the opal.

Combining silver and gold was a new experience for me. And it took quite a few goes to get it right. At first I was using 22k gold solder to try and attach the bezel, but all I managed to do was melt the silver plate. After talking to a couple of established jewellers, they all suggested that I use silver solder instead. I did, and had a much better result. Yay! 


The shovel idea originally was going to be attached to a stick, but as the idea evolved it turned into a brooch-like pocket watch. There the handle can be attached to your sweater, and the chain is long enough for the shovel to be placed in the pocket. 

I ended up making 3 handles to get the perfect result (I didn't like the pin connection on the first one, and in the second one the stone chipped) but during the process I have ended up with a series of brooch-like pocket jewellery.

The first is the shovel, the second is a pocket thimble/bucket and the third handle is going to be attached to a handkerchief (which is still in the process of being made).

Image by Deng Chen


Thursday, 27 November 2014

Snakes and Ladders : Enamel and Linen necklace

For our final assessment in Enamelling we had to create something that was inspired by 'games'. The word could be loosely interpreted and I chose the Snakes and Ladders board game I remembered fondly from childhood.

Snakes and Ladders prototype 1

To begin with, I made two different prototypes, experimenting with combining metal and woven linen thread. The first prototype was difficult to wear as the metal lengths stuck into the skin.

Snakes and Ladders Prototype 2

Redesigning my idea, I changed the linen thread to be more representative of a snake that weaves its way through the ladder. The design also changed the way it was worn, and the metal lengths no longer stuck into the wearer.


Cutting holes in the sterling silver lengths 

The next step was to make the design in sterling silver. After forging lengths of wire, I then cut holes into the flattened surface.

Plique a jour enamelled sterling silver

Using Plique a Jour methods (French for letting in daylight) I applied transparent enamel onto the cutout surface of the sterling silver.

Detail of the final Snakes and Ladders piece

Using a finer width of white linen, I wove the Plique a Jour lengths into place.


But before doing so, I had to thread the linen through sterling silver metal tube, which was then forged prior to threading the linen on the loom.


And this is the final result. 

Thursday, 16 October 2014

Enamelling: Collaborative Assignment Stage 3

This week we selected a piece of paper which had a number written on it. Then working backwards, from the highest number to the lowest, each person in the class had the opportunity to select an enamelled piece to work on.

I drew number one, which meant that I was lucky last. This worked well for me, because I truly don't know which object I would've selected had I the choice. And I ended up with Tamika's piece, that had recently been worked on by Candy.


Candy's rational for her enamelled colours was that the shape reminded her of flames, so she re-enamelled it from yellow through to red.

Funnily enough, this piece caused me many sleepless nights, as I pondered on how I was going to create some changes acknowledging the work done by Candy, but also make it sympathetic to Tamika and her personality and design aesthetic.

I found that the strong almost primary colours were too much for the delicate nature of the piece. In addition the enamel was starting to chip off some of the smaller areas.

So I removed all the enamel using a sand blaster. I had forgotten that there was texture on the original piece (Tamika had enamelled it using transparent colours which allowed the texture to come through)

Tamika's artwork back to copper

Because of the fragile nature of one of the joins, I decided to cut it up into three pieces. I turned two pieces into an asymmetrical pair of earrings. 


The shape and patterning of Tamika's original design always made me think of water, so I wanted to use enamels that had those qualities. I combined transparent turquoise with copper green to get depth in colour, and used the pull though technique with opaque white. 
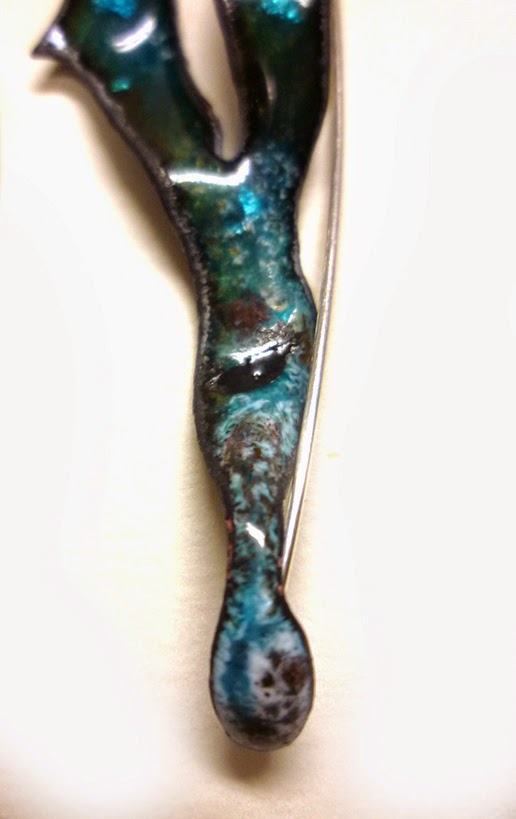
Detail of the opaque white pull through
Tiny bits of torn sterling silver foil was also added to give extra depth and reflective qualities.

Another detail of the earrings. 

The third piece I turned into a necklace.


Detail of necklace

When we had to present our changes to the class, I was really nervous. I didn't want to offend Candy.
But thankfully she was ok with my changes. Phew!

I have found this project to be incredibly enlightening. It has taught me that I am more concerned about working on another person's artwork, than I am on my own pieces. This is an outcome I find fascinating, since the concept of the project was to let go of ownership of your artwork and creativity.

Next week we get our original designs back for the original creator to finish. I wonder what mine will look like....


Thursday, 11 September 2014

Cuttle Fish Bone Casting

Summer is coming to an end and Im back at school. I have just started my Masters in Fine Art at NSCAD (Nova Scotia College for Art and Design). I am undertaking an interdisciplinary approach and will be working across ceramics, textiles and jewellery. 

As well as undertaking MFA courses, I am also polishing up on my jewellery skills. Recently I have been learning how to cast shapes in silver using cuttlefish bone as the mould. Cuttlefish bone is reasonably soft and it can be easily carved, or have objects pressed into it. 

Cuttlefish bone with a fork shape pressed into it.

I experimented with a few different shapes: fork, a piece of lego fence, and a twig. I discovered simple shapes work the best (because they highlight the striations of the cuttlefish bone that occurs naturally), and so I discarded the fence and twig idea and perfected the fork shape.

Cast silver fork shapes from the cuttlefish cast

 Generally the mould has only one pour (the heat of the metal burns away the cuttlefish bone and gives off a smell similar to burnt hair). The above image shows the first pour into the mould - notice I only achieved 2 of the 4 prongs (left).  On the right shows what happens if you use the same mould again. Much of the detail has been lost. Although this time I did get the four prongs.

Lego fence cast in silver and a twig

The above lego fence and twig were earlier shapes that I experimented with. Although the fence shape was relatively successful, I found that it the lovely cuttlefish bone striations were lost and so I discarded this idea.

My finished piece, another fork, was handed in last week for marking. It was finished with Black Jax to highlight the cuttlefish ridge striations. I totally forgot to take a picture but will post one as soon as I get it back.

Thursday, 10 July 2014

The Fence Ring

I am amazed at just how much of an impact my residency at Hill End last year has had on my work.

Whilst I was there, not only did I sketch the interiors of the cottage I was living in, I also collected a lot of photographs of the fences and textures I came across on my daily exploration of the area. Some of these images were explored through etchings which were exhibited in Landscapes, Ladies and Literature at the Barometer Gallery in Sydney last year.

This year I have been learning jewellery making techniques and I used the inspiration gathered in Hill End as the concept for my jewellery designs.


Working off some quick sketches in my sketch book I made a marquette of the ring design using paper and string.

Fence ring marquette using paper and string
The ring is designed to be worn on two fingers, the ring and middle finger. It was important that this integrated with the design of the fence.

Fence ring made from copper
The first fence ring was made using copper. This was to make sure I could practice soldering the joins and make any tweaks to the design before committing to sterling silver.

Fence ring. Sterling silver. 11cm long  x 6cm high x 0.6cm deep


Thursday, 3 July 2014

Material Matters: Steel String + Wood

Continuing my exploration using wood as an alternative material to creating jewellery I found a stick covered with lichen. Its shape was delightful and I didn't want to cut it up like I had done with previous experiments. 

Wanting to keep the delicate lichen intact, I dipped the stick in resin which gave it a slightly shiny sheen. And looking to work with other metals, I chose to work with steel wire, string and slices of wood to assemble the necklace. 


Also continuing my work with sticks, at the eleventh hour I thought of this fun idea using sticks to create earrings. 


These earrings can be found on my online store


Thursday, 26 June 2014

Material Matters: Foraging for wood

I got such great results from slicing into found pieces of wood (see last weeks post about wood and resin) that I decided to continue working with this method of using wood collected in the bush.

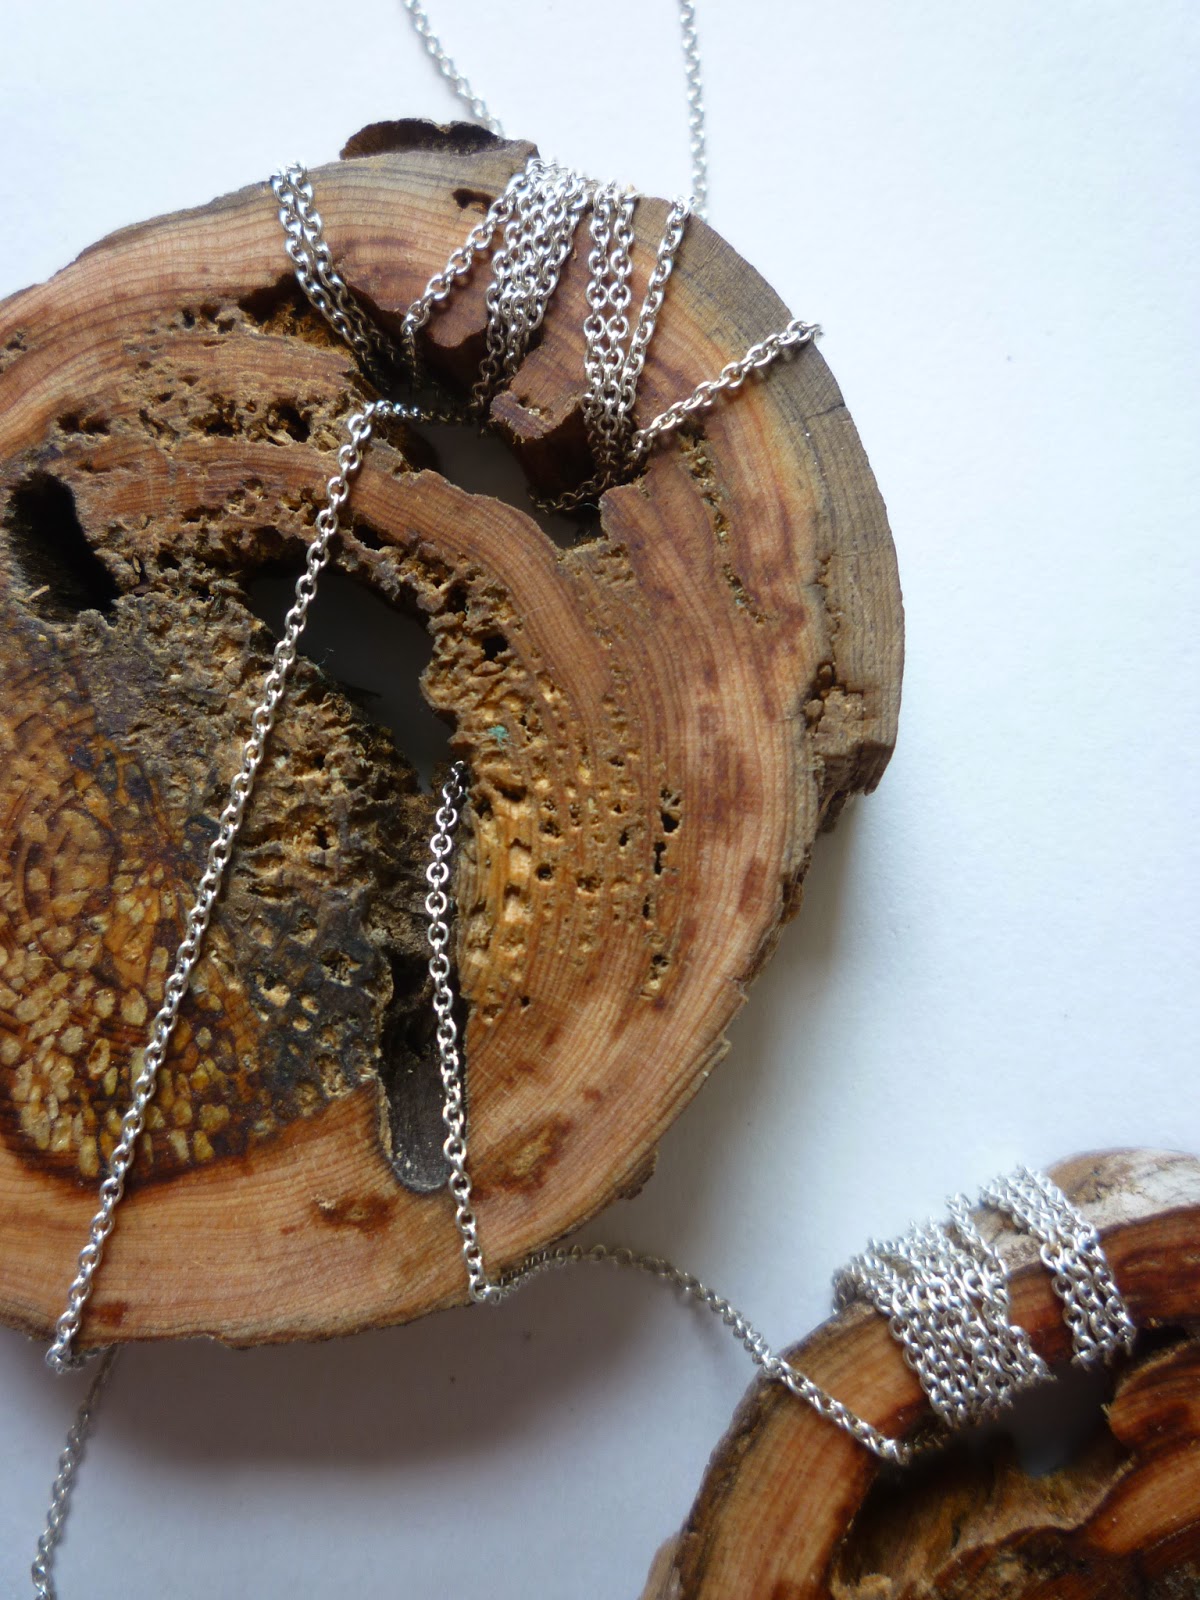
I found a great piece that measured about 8cm in diameter with weathered, sun bleached bark that I thought could be interesting to work with. To my delight, when I started slicing it on the band saw, the interior was just, if not more, interesting combining beautiful wood grain with interesting patterns eaten out of the wood by insects.


I was interested to see what would happen if I combined the sliced wood with precious metals such as sterling silver chain. The chain began to represent all sorts of things, like the thick heavy chains that are used to keep the cars of the old bush tracks. And through using such fine chain, it also started to talk about the delicate balance of nature. 


A Stitch in Time

A stitch in time (detail)
I created a needle by soldering a length of sterling silver wire to the chain to assist with threading the chain through the slices of wood. Following on from my thoughts about time and the environment, this became a conceptual piece called 'a stitch in time'. I decided to leave the needle attached as part of the finished piece.

Hanging on by a Thread

Hanging on by a Thread (detail)

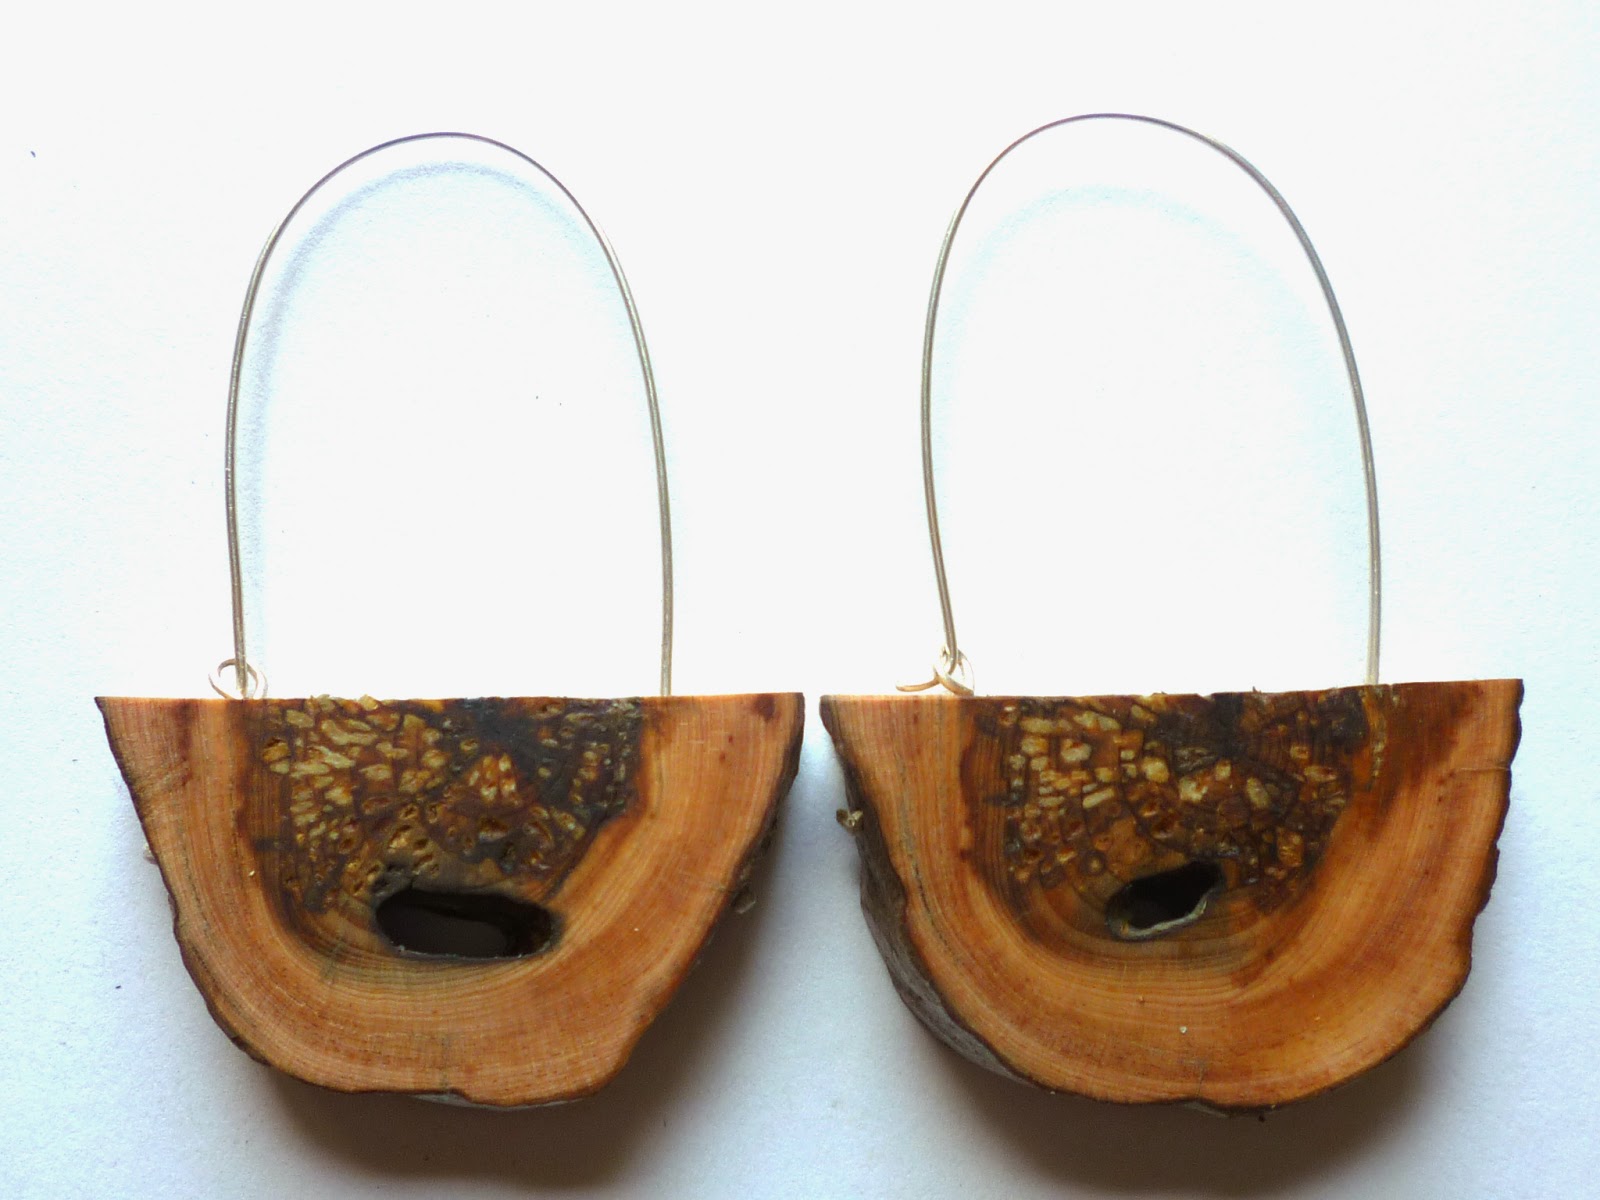
I also finely sliced and re-threaded a selection. They move nicely when worn and made a lovely soft rattle when moved.


I experimented and made some large brooches. 


And also some earrings. These are the beginnings of a new line of jewellery and can be bought in my online store


LinkWithin

Related Posts with Thumbnails