Showing posts with label design. Show all posts

Thursday, 14 December 2017

Furoshiki: one day workshop at NSCCD


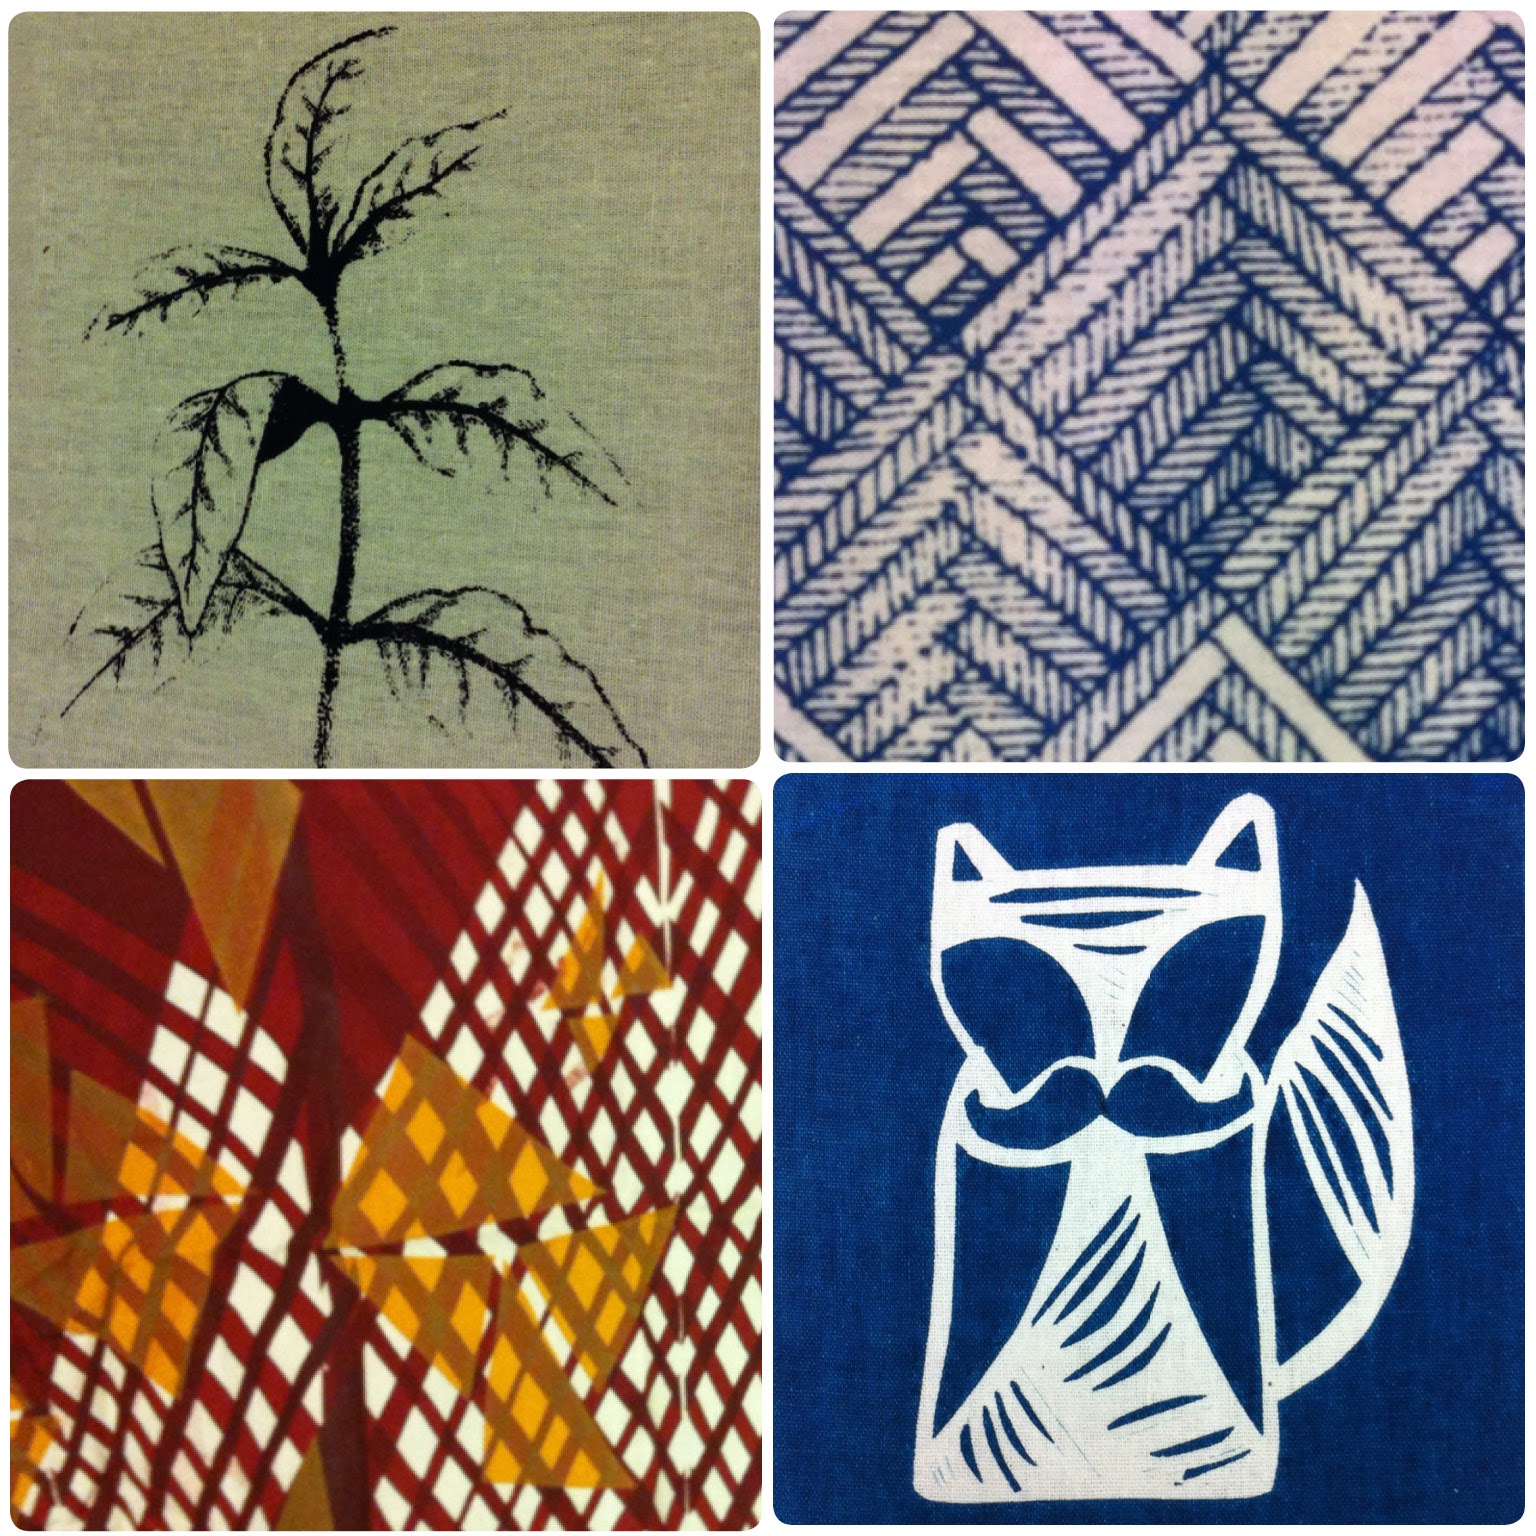
On Saturday I held my final creative workshop for the year: Furoshiki. This workshop is incredibly appropriate for this time of year as we created reusable and sustainable gift wrapping using shibori resist techniques, indigo dye and cotton fabric.


In 6 hours we covered a variety of techniques including stitched resist designs, asashi (using a tube to create a pattern) itajime (folded) and tesuji (pleated) shibori. Whilst there was a lot to learn, the output was incredible, with many beautiful fabrics created in the process.

Honeycomb shibori

We marvelled at the magic of the indigo dyeing process, watching it change colour from green, to turquoise, to indigo.


Simple things such as bamboo sticks can create delightful patterns, like the one above. 

We were far too busy trying to squeeze as much in as we possibly could that I totally forgot to take a group photo of our happy creatives. But rest assured we all left tinged with blue and bitten by the indigo bug. ;) 


Friday, 16 January 2015

Teaching screen printing at NSCCD

I have resumed teaching screen printing again! This time in Halifax at the Nova Scotia Centre for Craft and Design. Its so wonderful - I always forget how much fun it is and how much I enjoy it.

Catherine's print combining stencil and styrofoam stamps
The course participants learn a variety of print techniques. The first to make a stencil was using photocopy paper and a sharp knife to achieve crisp lines, or tearing the paper for a softer edge.

Catherine printing lace using paper doilies
Catherine was interested in lace patterns and experimented printing through lace doilies. Unfortunately these were not so successful because of the height of the doily resulting in a very unclear print. So the next week Catherine tried printing through paper doilies. The result was highly successful and she also experimenting with layering the print.

Layered paper lace doily prints

Meanwhile Janet experimented with colour, layers and registration to ensure a precise placement of the print.

Janet's screenprint incorporating printing through
cheesecloth,  strips of torn paper and placement through registration.

Janet's three colour print:
cheesecloth (red) potato print (blue) and paper stencil (green)

One of the things I encourage in my class is experimentation, because this is often where the most exciting results occur. 

Janet printing using a potato stamp
One of the delightful things about printing using stamps is their unpredictability to how the print paste will be transferred onto the fabric. 

Rebecca's paper cut stencil
Its so wonderful to see the sparkle of excitement in everyone's eyes as they work through their screen print ideas and I enjoy seeing the work develop over the duration of the five week course. For such a simple technique it can achieve a number of amazing and diverse results.

And Im having so much fun that the course will be offered again in the Spring.

Thursday, 29 May 2014

Hollowware: Egg Cup Design

Earlier in the year I designed and created an egg cup in my Hollowware course.

When it was first made it had the most amazing and unusual purple patina. (Pictures of the egg cup in an earlier post can be seen here.)

Now, a couple of months later it has faded to an aged icy turquoise blue. The high polish on the 'tentacles' has remained a beautiful dark copper colour. The blue patina was achieved by placing the copper with a green patina in a lidded bowl full of wood chips soaked in ammonia. The fumes of the ammonia turn the green patina blue!


And below are some of the designs that were discarded in the designing process. 


I would still like to make them....... maybe one day! 

Here are some websites on how to make different coloured patina's using ingredients generally found at home:


Thursday, 6 March 2014

Hollowware: Learning to fabricate

Our second project in Hollowware was to learn to solder joints, and make a 5 sided cube.

5 sided brass cube being held together with wire before soldering
 Although it looks relatively straight forward, the project is incredibly tricky, trying to get all angles at 90 degrees is more difficult than it looks!

And then there are the hours (literally) of sanding and polishing and elbow grease to get it to look like this....


Phew!

After learning how to make cubes we were given a project to design something that would hold an egg.

Starting with the basic concept of a cone, I explored many variations before coming up with this one.


Copper finished with green patina, and highly polished tentacles

The green patina then turned the most amazing purple from a couple of hours soaking in ammonia fumes.

Fun stuff and the purple was the most wonderful iridescent colour... and not even a colour our teacher had seen before either!

Thursday, 2 January 2014

Public Art: Curtin Shopping Centre ACT

The Christmas and New Year holidays are always a good time to catch up on all those things I have been meaning to do, but never quite seem to find the time.

I was sorting through some boxes of my art stuff that was packed away before I moved to London (over ten years ago now) and I found images of some of my old artwork. So I have been updating my website.

One of the first projects I embarked upon after graduating from Art School in 1999 was a collaboration with artist, Matthew Harding to create public artworks for the Curtin Shopping Centre, in Canberra, ACT.

stained glass mosaic pedestal 
Canberra is the bush capital of Australia, with corridors of native bush that lead right into the city. Due to this there is an abundance of native wildlife and the variety of birds is simply delightful. This became the theme for the project, and we called it 'Flights of Fancy'.

Honey Eater stained glass mosaic pedestal

Working with images of birds: kookaburra, galah, rosella, blue wren, honey eater to mention a few, we created stained glass benches, designed cast bronze feather inserts into the paving, laser cut and powder coated steel banners, bin surrounds and drain grates, printed textile banners, and hand carved wooden play sculptures.

If you would like to see more visit my website


Thursday, 12 December 2013

More blue and white ceramics for Pozible


December has been spent making, delivering and sending out pozible gifts (lino prints, tea towels and ceramics) for my supporters. 


Left over bits of my lino prints for the gift tags.  
Notice my handy assistant, Kochira the cat, keeping an ever watchful eye on me (and the fish) in the background! 

I wanted to get the ceramic gifts out before Christmas, and consequently forgot to take nice pictures of them. I only have one of them lined up in my studio.


Thankfully I have received pictures from some of the recipients - and its lovely to see the ceramic vessels in their new homes.

Image: Bel and Shane

Image: Josie

Image: Liz 
Image: Murray
Im still collecting images of the gifts in their new homes. If you were one of my supporters Id love to see how your gift looks in its new home.


Thursday, 28 November 2013

Printing fun at Megalo pt 2

As promised here are some more pictures from the 6 week block of Introduction to Screenprinting on Fabric I taught at Magalo.

Thank you to Claire, Barbara and Ngaire who have shared their images with me, so that I can share them with you! 


Screenprints and images by Claire
Claire created some lovely patterns through repeating a single image printed in different colours and explored printing onto pre-cut fabric pieces with the intention of sewing them into garments. I look forward to seeing the final product!

Screenprints and images by Ngaire 
Screenprints and images by Ngaire
 Ngaire combined beautiful hand drawn images with text which resulted in lovely compositions.

Screenprints and images by Barbara
Barbara experimented with combining imagery created using the photo-emulsion technique combined with paper cut stencils. She printed lengths of fabric by randomly printing the image onto cloth. I love her use of fabric as a shade cloth over the deck area which is perfect for afternoon drinks, morning teas and hanging out in the hammock. After Christmas the shade cloth will be taken down and used to make PJs.

Such a wonderful and creative bunch of people. I am always so impressed by their creativity. They were so inspired that they are going on to form their own print club to continue printing at Megalo next year!


Thursday, 21 November 2013

Printing fun at Megalo

I have just finished teaching a 6 week block of Introduction to Screenprinting on Fabric at Magalo's new facilities in Kingston. The new space is amazing and such a pleasure to be in.


And of course, I had a ball sharing my knowledge and passion with 8 keen soon-to-be-addicted-to-screenprinting participants.

Screenprints and images by Kahlea 
I always love how diverse everyone's designs and images are, and printing onto textiles lends itself so nicely to repeat motif printing.

Screen prints and images by Muzi
There was lots of experimental works being created, including Paal's printing onto old tea towels and doilies and achieving great effects, Muzi's striking colour combinations in geometric prints and Kahlea's fabulous patterns.

Screenprints and images by Paal
I got so carried away teaching that I often forgot to capture the creativity. A big thank you to Paal, Muzi, Kahlea and Mandy for sharing your images with us.

Screen prints and image by Mandy 
Mandy's image above is a great example of the different sorts of effects paper stencils (using both the positive and negative cut outs), and combining it with a line drawing that was translated using photo emulsion techniques.

Sam, Barbara, Ngaire and Claire also created some beautiful artworks which I hope to share with you soon.

Thursday, 14 November 2013

Maud's House Tea Towel

Earlier in the year I ran a crowd funding campaign to assist with my travel to Halifax, Nova Scotia to participate in the Nova Scotia Centre for Craft and Design's Summer residency.

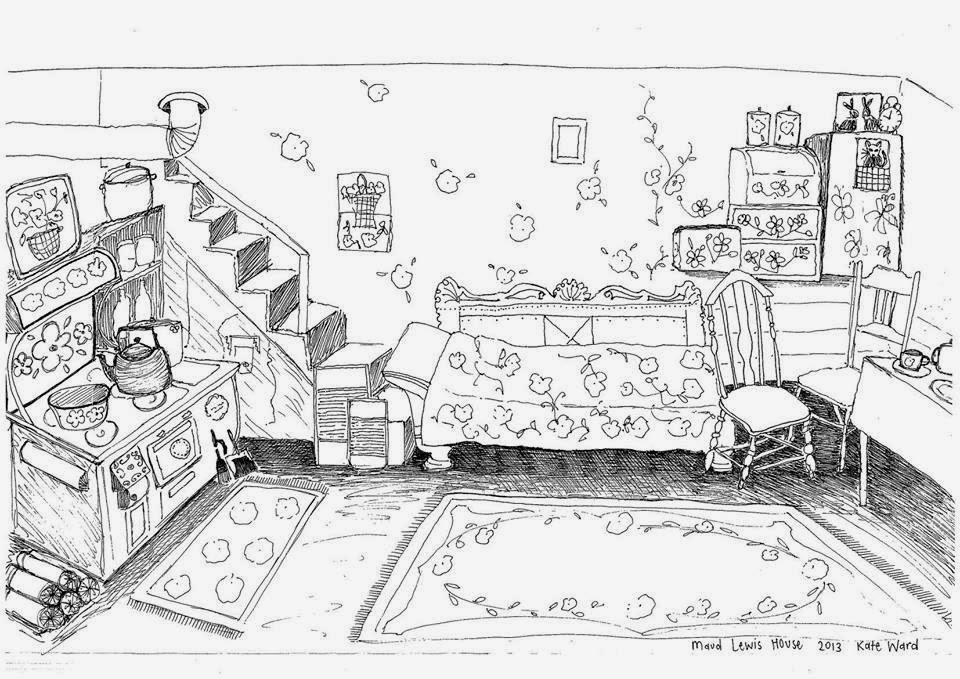
One of the rewards for my crowd funding supporters was a tea towel hand printed by me with an image of Canadian artist Maud Lewis's tiny little cottage. 

The building is so tiny and amazingly decorated all over with her folk art that her entire house is now in the Art Gallery of Nova Scotia in Halifax! Her cottage was so basic that it did not have electricity or running water and consisted of one room and an attic. As such she fitted in with my concept of pioneering women and images of her house appeared in the artwork produced for the exhibition in Halifax.

Printing up a storm at Megalo Print Studio and Gallery 
You may have seen some images of her cottage on my blog if you had time to follow my adventures - here's a link if you would like to know more about her.


Printed on 100% linen tea towels measuring 50 x 70 cm using water based permanent ink, I got carried away and printed a few extra tea towels with the Maud Lewis design. If you would like one for your collection, or a Christmas gift, you can find them in my online store.

LinkWithin

Related Posts with Thumbnails