Showing posts with label print. Show all posts

Friday, 18 May 2018

How to Print Sashiko Stencils on Fabric


If you have been swept away with the Sashiko stitching craze (like me) you are probably looking for easy ways to transfer designs onto your fabric without the hassle of tracing out grids, or buying expensive templates.

I have found a fabulous way to transfer your design onto fabric using an ink jet printer (these are the ones generally used at home with ink that is water soluble) and freezer paper. Freezer paper is the old fashioned way to wrap and store meat in the freezer and can be readily found in the supermarket. If you have trouble finding it, you can make your own (and I'll go into these steps in another post).

You willl need:

  • Freezer paper
  • Scissors
  • Fabric (any light weight fabric will work)
  • Iron
  • Printer 


Step 1
Iron your fabric first to remove any wrinkles. You can work with any light weight fabric and I often use muslin (calico) because it is a good weight and it prints well. I often dye my fabrics before printing to create extra depth and interest, however plain fabrics work well too. The above sample was printed on indigo dyed muslin and the black ink contrasts well against the deep blue.

Step 2
Cut out a section of freezer paper to the same size of your printer paper (either 8.5"x11" or A4). I use a piece of printer paper as a guide or you could use card stock for something more durable.

Step 3
Place the freezer paper shiny side (plastic) down towards the fabric and iron it. The plastic will melt and adhere to the fabric.


Step 4
Cut around the paper making sure you have no frayed edges and that you are cutting close to the paper edge. 

Step 5
Place your fabric/paper into the printer facing the correct way. ie with my printer HP Envy 4000 I place it fabric side down with the paper side visible on the top. This ensures that the print goes on the fabric and not the other side. (if you get confused and accidentally place it the other way around, simply flip it and run it though the printer again)

Step 6
Press print! It should run through the printer ok and out comes an image printed on your fabric.

Step 7
You can peel off the paper and start sewing your design.

Step 8
I use a water base ink so that I can wash off the printed design after I have finished embroidering the pattern, however there are waterproof inks available if you wanted to have a permanent design.


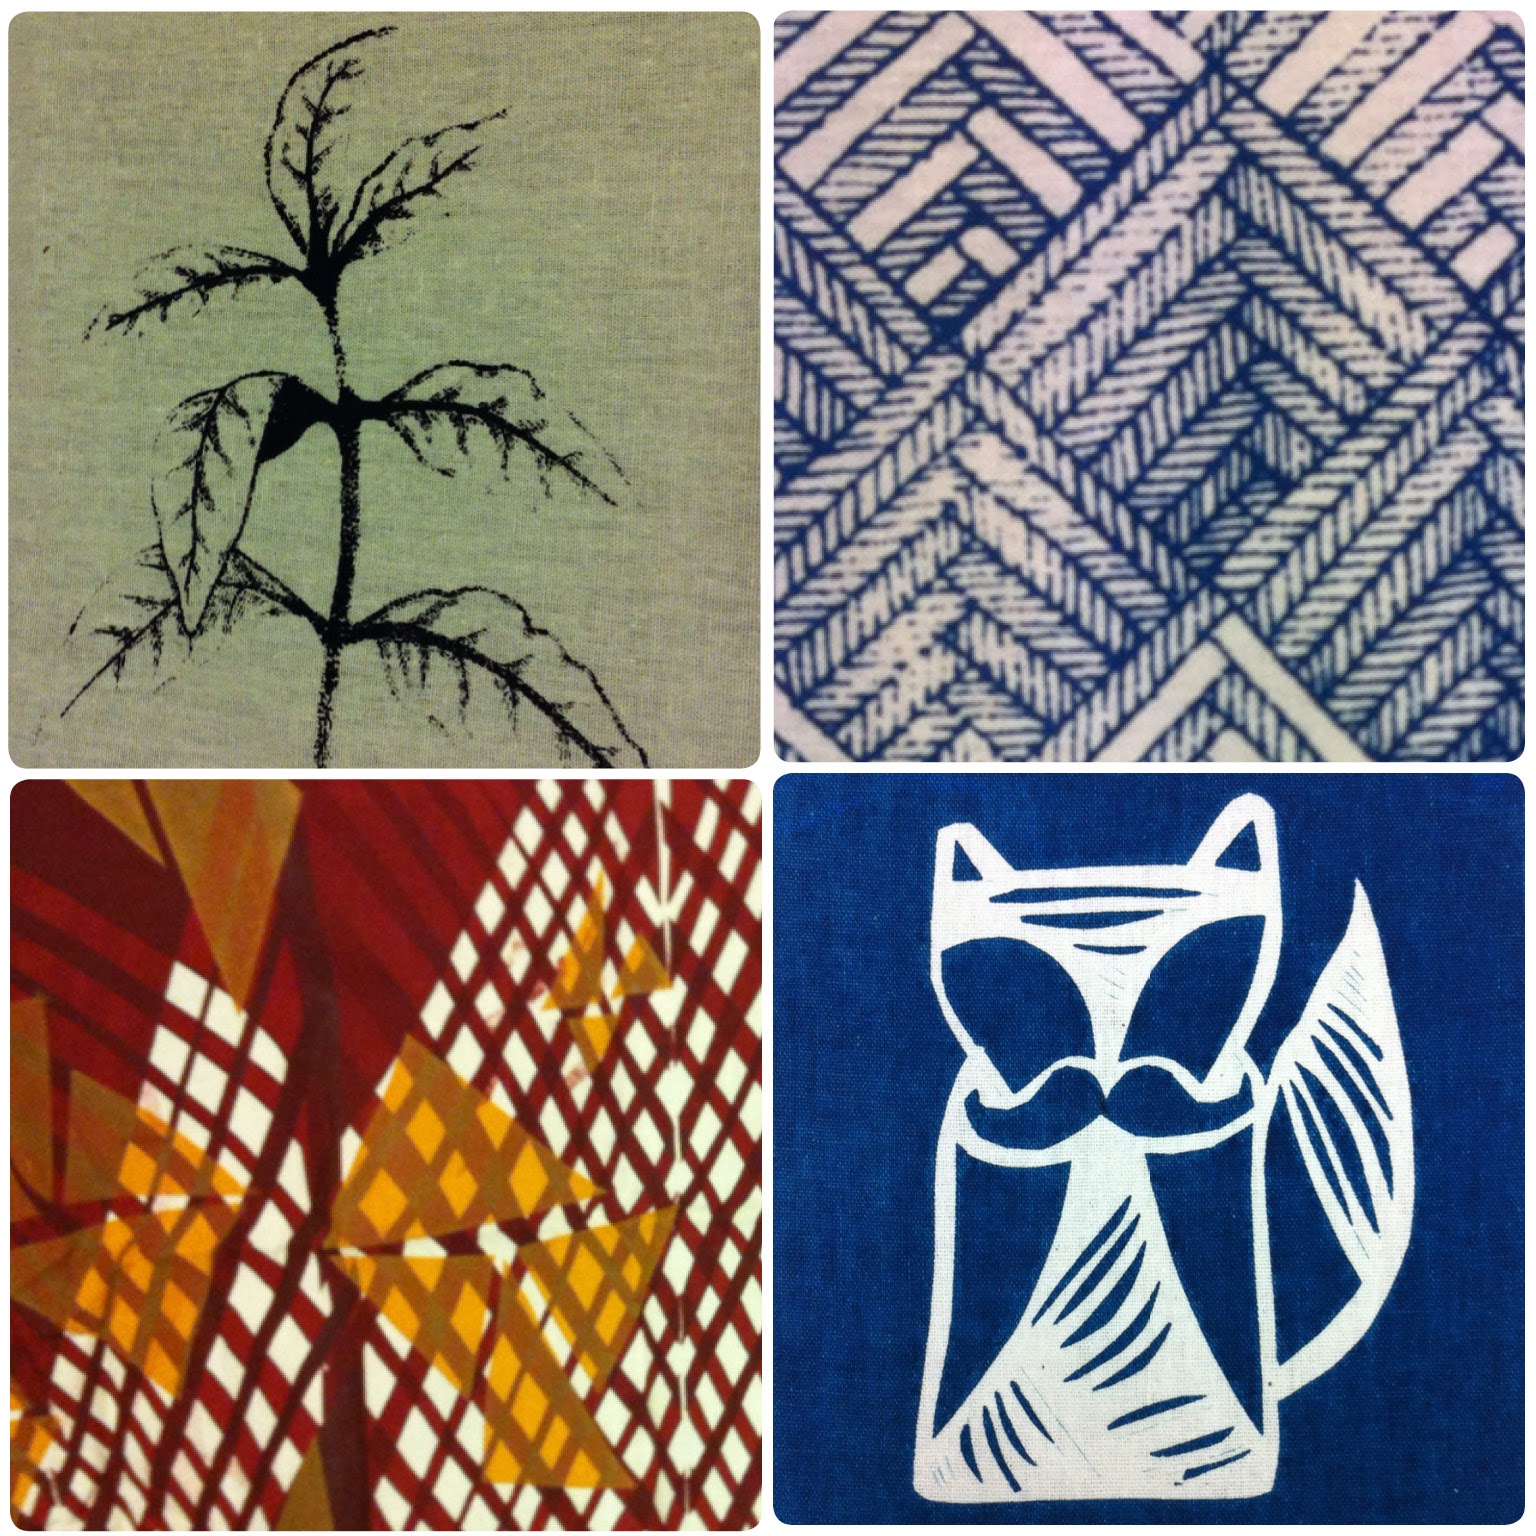
These are some examples of fabrics that have been printed using my inkjet printer. The one below you can see wasn't completely ironed onto the freezer paper and was wrinkled going through the printer. But it still went through ok without getting stuck!

You can find lots of sashiko stencils online to download onto your computer to print.


Happy Stitching!


Thursday, 21 November 2013

Printing fun at Megalo

I have just finished teaching a 6 week block of Introduction to Screenprinting on Fabric at Magalo's new facilities in Kingston. The new space is amazing and such a pleasure to be in.


And of course, I had a ball sharing my knowledge and passion with 8 keen soon-to-be-addicted-to-screenprinting participants.

Screenprints and images by Kahlea 
I always love how diverse everyone's designs and images are, and printing onto textiles lends itself so nicely to repeat motif printing.

Screen prints and images by Muzi
There was lots of experimental works being created, including Paal's printing onto old tea towels and doilies and achieving great effects, Muzi's striking colour combinations in geometric prints and Kahlea's fabulous patterns.

Screenprints and images by Paal
I got so carried away teaching that I often forgot to capture the creativity. A big thank you to Paal, Muzi, Kahlea and Mandy for sharing your images with us.

Screen prints and image by Mandy 
Mandy's image above is a great example of the different sorts of effects paper stencils (using both the positive and negative cut outs), and combining it with a line drawing that was translated using photo emulsion techniques.

Sam, Barbara, Ngaire and Claire also created some beautiful artworks which I hope to share with you soon.

Thursday, 7 November 2013

Lino Cuts inspired by Haefliger Cottage

The lino cuts (below) that were exhibited in the Landscapes, Ladies and Literature exhibition at the Barometer Gallery in Sydney were inspired by my stay in the Haefliger Cottage as part of my residency in Hill End.
Obedience! Yes that is a virtue in women...
The difficulty of finding tolerable servants... 
Recollections of bush life in Australia... 
Her domestic duties are so engrossing...

The management of household affairs... 

The titles of the works were inspired by a letter I found written by an English lady who had emigrated to Australia in the early 1800s. She was writing home describing the domestic duties in the Australian bush, and detailing how they contrasted with her old life in England.

All prints are signed and printed in a limited edition of 5. If you would like to add one to your collection visit my online store.


Thursday, 8 August 2013

In the studio - more test pieces

This week in the studio I experimented with a majolica glaze.

Hard at work in the studio
I had decided to try this glaze because of the similarities of creating blue on white imagery with low fire earthenware compared with the high fire porcelain that I work with in Australia. I just love blue and white ceramics.
some spoons with majolica before the glaze firing
 So I very carefully painted a number of scenes I had sketched from the Quaker House in Dartmouth.

And the results were a little unexpected - as you can see in the before and after images below.

kitchen chair before glaze firing

kitchen chair after glaze firing 
kitchen cupboard pre-fire
kitchen cupboard after glaze firing 
Kitchen fireplace pre-fire
Kitchen fireplace after glaze firing 

Kitchen scene pre-fire
Kitchen scene after glaze firing 
So I think what caused the cracking of the ceramics was the thickness of the glaze - next time I will try it a little thinner. This may also have been the cause for why the images ran. 

Although the results were not what I was hoping for, I really like the watery quality of the images and I will continue to experiment with positioning the spoons at different angles in the kiln to accentuate this. However I would also like to achieve some blue on white scenes which do not have the marbled/watery effect. I have been told that there is another majolica glaze that I should also try - I will also test that one out too.

I have had a little more success etching silver spoons.
Silver spoon before etching 
Silver spoon after etching 
I am really excited by the concept of etching silver cutlery and I will continue to explore creating imagery in this way. There is an excellent tutorial online that demonstrates the steps of how to do this.

Creating wood block 
I have also started working with carving imagery onto woodblocks and printing the imagery using the Japanese technique of using water colours or gauche to print the image. This is really exciting as I learnt this method whilst I was living in London, and haven't had the time since to explore this method of printing.

This week all 10 artists got together to present their progress to date. It is really interesting to see how everyone is working and the beautiful things that are being created. We are starting to count down to the exhibition.... theres only 24 days to go!

Thursday, 27 June 2013

Hill End: In the Studio

The residency at Hill End provided the opportunity of four weeks to dedicate to my art practice. Leading up to the residency I thought four weeks would be ample time to work through my ideas and concepts. As it turned out, the time passed way too quickly, and I left with more ideas than when I arrived!

The purpose  built studio is at the back of the cottage and has the most wonderful natural light. It is heated by a small pot belly stove, which although smoked like billy-o was great for heating up water for my cups of green tea.

 I had the opportunity to teach myself how to make 2 part plaster casts and from these I made a collection of porcelain slip cast bottles.


The fences and gates in Hill End are fascinating (a post about these can be found here), and I spent time documenting them in my sketch book. I decided these would translate well into etchings using the non-toxic method I learnt a year or so ago. 

Without access to a potters wheel it provided me with the opportunity to explore making shapes using hand building methods.

The studio was just a delightful place to be in: great light, sizeable working space and surrounded by interesting objects.
Studio view
I just love the big old gilt mirror 
And the studio storage
Even the reflections are picturesque

The creativity was not contained in the studio and often spilled into the kitchen


and lounge room where I worked if it got really cold since it had a wonderful fire that I kept going day and night.
Im really looking forward to finishing this body of work, which will be exhibited at Barometer Gallery in Sydney later this year.

LinkWithin

Related Posts with Thumbnails