Friday, 18 May 2018

How to Print Sashiko Stencils on Fabric


If you have been swept away with the Sashiko stitching craze (like me) you are probably looking for easy ways to transfer designs onto your fabric without the hassle of tracing out grids, or buying expensive templates.

I have found a fabulous way to transfer your design onto fabric using an ink jet printer (these are the ones generally used at home with ink that is water soluble) and freezer paper. Freezer paper is the old fashioned way to wrap and store meat in the freezer and can be readily found in the supermarket. If you have trouble finding it, you can make your own (and I'll go into these steps in another post).

You willl need:

  • Freezer paper
  • Scissors
  • Fabric (any light weight fabric will work)
  • Iron
  • Printer 


Step 1
Iron your fabric first to remove any wrinkles. You can work with any light weight fabric and I often use muslin (calico) because it is a good weight and it prints well. I often dye my fabrics before printing to create extra depth and interest, however plain fabrics work well too. The above sample was printed on indigo dyed muslin and the black ink contrasts well against the deep blue.

Step 2
Cut out a section of freezer paper to the same size of your printer paper (either 8.5"x11" or A4). I use a piece of printer paper as a guide or you could use card stock for something more durable.

Step 3
Place the freezer paper shiny side (plastic) down towards the fabric and iron it. The plastic will melt and adhere to the fabric.


Step 4
Cut around the paper making sure you have no frayed edges and that you are cutting close to the paper edge. 

Step 5
Place your fabric/paper into the printer facing the correct way. ie with my printer HP Envy 4000 I place it fabric side down with the paper side visible on the top. This ensures that the print goes on the fabric and not the other side. (if you get confused and accidentally place it the other way around, simply flip it and run it though the printer again)

Step 6
Press print! It should run through the printer ok and out comes an image printed on your fabric.

Step 7
You can peel off the paper and start sewing your design.

Step 8
I use a water base ink so that I can wash off the printed design after I have finished embroidering the pattern, however there are waterproof inks available if you wanted to have a permanent design.


These are some examples of fabrics that have been printed using my inkjet printer. The one below you can see wasn't completely ironed onto the freezer paper and was wrinkled going through the printer. But it still went through ok without getting stuck!

You can find lots of sashiko stencils online to download onto your computer to print.


Happy Stitching!


Friday, 11 May 2018

Print Making at Old Barns Elementary School


This week I had the pleasure of being an Artist in Residence at the Cobequid Consolidated Elementary School in Old Barns. 


I was invited to talk about myself and my life as an artist, followed by a print making demonstration. 


I demonstrated how to design and make a print using polystyrene trays as the 'print plate'. The students in years 3, 4, 5 and 6 then put their knowledge into practice to design their own prints.  


These are some of the results from the two days I was there. I simply love them! 


A big thank you to fabulous Jane Ross,  Grades 4/5 Teacher who tirelessly organized everything, and PAINTS, a program that helps schools in Nova Scotia bring professional visual artists into their classrooms. 


Friday, 4 May 2018

The Cat with the Mona Lisa smile

Mr Whiskers by Ruby
Acrylic on Canvas
2018

My youngest student Ruby has been working on a painting of her cat, Mr Whiskers, for the past month. 

This painting explores colour theory and she choose complimentary opposites on the colour wheel (orange and blue) to understand how placing a cold colour next to a warm colour makes some things recede whilst other parts of the painting pop out. 

The distinction between warm and cool colours has been important since at least the late 18th century. The contrast is related to the observed contrast in landscape light, between the warm colours associated with daylight or sunset, and the cool colours associated with a grey or overcast day. Warm colours are often said to be hues from red through yellow, browns and tans included; cool colours are often said to be the hues from blue green through blue violet, most greys included. 

Many artists use this to lead the eye around the canvas and give their paintings depth. For example, Vincent van Gogh used this technique often in paintings often using bright blues next to clear yellows for vibrancy. 


Friday, 27 April 2018

Learning to Stitch : Five benefits of sewing


An example of layering stitching combined with initials
This week I taught a class of elementary students how to stitch. The students ranged from 5 - 12 years old, and for many this was their first experience of sewing.

There are many reasons why sewing is beneficial....

Pockets designed to hold sticks

1. Hand Eye Coordination 
Sewing with a needle and thread requires coordination, and is a great way for little fingers to learn that fingers help us feel and see. Practicing these skills keeps our brain as nimble as our fingers. 

2. Sewing is Creating
Choosing the colour of material and thread is an act of creativity and it is delightful to see the colour combinations chosen. Getting creative by making these choices means we are engaging our brains in creative thought which is great for the mind. It also assists with boosting our confidence as we learn to trust our choices.

3. Environmental Impact 
Learning to sew on buttons or repair holes saves clothes from being thrown away. According to the Huffington Post a devastating 85% of our clothing ends up in landfill. By lovingly repairing our own clothes we are more likely to continue to wear them and cherish them for longer.  

4. Emotional Wellbeing
Sewing can be therapeutic, which leads to being calmer, happier and relaxed. It encourages a state of mindfulness, awareness or meditation. 

5. A Sense of Accomplishment
The best reason for learning to sew is the sense of accomplishment that comes from creating something handmade. 


Layers of colour

Tree embellishment on pocket : work in progress


Even the teachers got involved and commented on
the meditative qualities of stitching

These days our lives are so busy I feel that it is such a treat to be able to sit still and sew,  listening to the sound of the thread as itpasses through the fabric, feeling the textures on my fingers whilst letting my mind drift. The humble act of sewing and repairing is becoming a sought after experience - and can be a meditation retreat in our own home! 

These are just some of the benefits sewing can offer that I can think of - and I'd love to hear from you too. What are the benefits of sewing that you have recognized on how it can impact positively on your life? Leave a comment below and let me know. 


Friday, 20 April 2018

Fibre Arts at NSCAD

SeaWeed inspired necklace,
felt and embroidery
by Allison

Every week in class we begin with show and tell - where my students bring in the projects they are working on that demonstrate the techniques they have learnt. 

Allison, a marine biologist, is inspired by the shapes, colours and textures of seaweed. She is creating a necklace using felt and embroidery to achieve her desired result. 

I think it is fabulous!

Friday, 13 April 2018

Contemporary Knitting and Crochet

I am currently teaching an intensive Fibre Arts four week course as part of NSCAD's Extended Studies program, which offers a wide range of short and long term course, workshops, open studios, certificate programs and online course to adults who wish to learn, improve their skills, and have fun!

In week 3 of the program we are learning knitting and crochet skills, recycling fabric and plastic bags to use as our 'yarn'. We also looked at some artists who have appropriated these skills and created large scale installations.

Crocheted playspace by Toshiko Horiuchi MacAdam

Japanese fibre artist Toshiko Horiuchi MacAdam uses knitting, crochet and knot making techniques for her work. Most popular are her "textile playgrounds” for children with their characteristic brightly-coloured net-like structures made of crocheted and knotted nylon, that are found installed in various locations worldwide.

Orly Genger yellow roped fiber installation

Orly Genger and her unique sculptural installations completely commandeer both indoor and outdoor spaces. Her installations are built entirely out of recycled rock climbing rope: stacking and knotting the fibre to transform large spaces and engage viewers.

Orly Genger gray roped fiber installation

Whilst learning the skills of knitting and crochet my students are sticking with smaller, domestic sized objects, however it is always great to know that these skills can also be applied to large scale outdoor sculptural objects too. 

Thursday, 25 January 2018

Intro to Tapestry at NSCCD


The year is off to a good start as we gathered for my Introduction to Tapestry weaving 2 day workshop. 


Tapestry is a fun, portable and expressive weaving technique with endless possibilities. Its also a fabulous way to use up small lengths of yarn.


Once you master the basics, you can paint with wool - the only thing that limits you is your imagination!


During the course I demonstrate how to blend colour, learn different weaving techniques including the slit and dovetail methods for creating a design, build geometric shapes, weave circles, and make waves.


Once you can create these shapes you can weave any design you wish.


Weaving a circle is by far the trickiest thing to master, but even the youngest in our group picked it up pretty quickly. 

Some were even bitten by the bug and did extra work over night to complete their design, and ended up completing 2 small tapestries by the end of the class. 


Sample by Charlotte

Sample by Teresa incorporating her hand spun yarn
Sample by Charlotte


Thursday, 4 January 2018

Lucky the Cat

Lucky the Cat by Sam
12 x 16"

I have started teaching private art lessons to children where they learn the concepts of colour, texture, composition and technique. Art is a fabulous way to develop fine motor skills whilst developing problem solving skills.

We have been learning colour theory and applying this knowledge to our images, using complimentary opposites to create a colourful image with depth. Working from images of their favourite pets, I encourage the use of our imaginations whilst assisting them to really observe the world around them.

We also touch upon Art History and in this project employ dynamic brushstrokes and colour mixing on the canvas in a similar style to Vincent Van Gogh. 

The above image was painted by Sam, who is 10 years old. I think she has done a fabulous job painting her cat Lucky! 


Thursday, 14 December 2017

Furoshiki: one day workshop at NSCCD


On Saturday I held my final creative workshop for the year: Furoshiki. This workshop is incredibly appropriate for this time of year as we created reusable and sustainable gift wrapping using shibori resist techniques, indigo dye and cotton fabric.


In 6 hours we covered a variety of techniques including stitched resist designs, asashi (using a tube to create a pattern) itajime (folded) and tesuji (pleated) shibori. Whilst there was a lot to learn, the output was incredible, with many beautiful fabrics created in the process.

Honeycomb shibori

We marvelled at the magic of the indigo dyeing process, watching it change colour from green, to turquoise, to indigo.


Simple things such as bamboo sticks can create delightful patterns, like the one above. 

We were far too busy trying to squeeze as much in as we possibly could that I totally forgot to take a group photo of our happy creatives. But rest assured we all left tinged with blue and bitten by the indigo bug. ;) 


Thursday, 7 December 2017

Indigo Magic at NSCAD

Our five weeks of Indigo Magic held as part of NSCAD's extended studies program wrapped up this week. 


Over the five weeks course participants learnt and explored:
  1. How to make an indigo vat
  2. Stitched shibori resist designs 
  3. Asashi shibori (using a tube to create a resist)
  4. Itajime shibori (folded)
  5. Tesuji shibori (pleated)
  6. Other natural dye methods including rust and turmeric


Gwen's shibori explorations hanging out to dry

turmeric makes a delightful contrast against the deep blue of the indigo

Thursday, 30 November 2017

Isness : Winter is Coming


Winter is Coming - AIR group exhibition

At the end of my residency at SIM all the participating artists showcase their work in a group exhibition.  


Within the Isness is where your experience lies.  

During the residency I was exploring digital media and created the above animation. Isness is inspired by my time in Iceland: the Northern Lights and the vastness of the winter skies. Music is created by John Kennedy in response to the imagery.

Together there were 13 artists who participated in the group show. We are an international bunch coming from all corners of the globe, working in a variety of different media. Participating artists included: 

Adam Sébire : https://www.adamsebire.info/#contemporaryart
Anna Emilia Laitinen : www.annaemilia.com
Catherine Canac-Marquis : catherinecanac-marquis.com
Daniel S. Streck
Gabriel Gold : www.gabrielgoldmusic.com
Jonathan Lipkin : www.jlipkin.com
Kate Ward : www.kateward.com.au
Katrin Keller http://katrinkeller.ch/
Kim Mirus : www.kimmirus.com
Lisa Rosenmeier : www.lisarosenmeier.info
Marcel Tarelkin : www.marceltarelkin.de
Richard Spiller
Sigbjørn Bratlie : www.sigbjornbratlie.com

Thursday, 23 November 2017

SIM residency wk 3 : Adventures to the East

It was my last week in Iceland and I wanted to make the trip to Jökulsárlón, the Iceberg Lagoon, about a five hour drive from Reykjavik according to Google Maps. As it turned out, the drive took a lot longer than that (slow snowy roads and a maximum speed of 90km is guaranteed to lengthen the trip) not to mention allowing for adequate time for stopping at interesting places along the way.  

View through the mud splattered windscreen

The large expansive skies are a continual source of inspiration and I have made a note to self that next time I come back I will be bringing a much better camera, rather than relying on my phone. 


We stopped at Hjörleifshöfði Cave (also known as Bull Cave due to its silhouette) and watched the clouds rush by in the sky, propelled by the strong winds. Iceland is enshrouded in folklore and you can easily see why. It is believed that the lava fields, eerie natural formations, and large expanses of isolated wilderness is populated by hidden people and ghosts.  

View from Kálfafellsstadur Bed & Breakfast

Jökulsárlón is in the middle of nowhere, the closest hamlet is 13 km away and due to its popularity can book up quickly. I was lucky to find Kálfafellsstadur Bed & Breakfast, which was a pleasant place to stay and not too far away from the lagoon. The view of the church was a delightful way to end the days journey. 

Jökulsá beach

Thank goodness the sun rises at 10am here at the moment, which allowed time for a leisurely breakfast before our drive back to Jökulsá beach to watch the sun glisten on the icebergs that have washed out from the lagoon and onto the black sand. It was a stunning moment as the warmth of the sun painted the snow capped mountains pink and gave everything a warm glow. 


Moments later the warmth of the sun was overshadowed by dark, heavy, snow clouds and so we saw the monumental glacial icebergs surrounded by swirling soft eddies of snow. This quickly turned into a blizzard as Iceland issued a yellow weather alert. Moments of the drive back to Reykjavik required 'active driving' due to the high winds and swirling snow. Beautiful. But also terrifying. Making me think of Sublime and its 18th century meaning relating to our awe of nature. Later we found out that they closed sections of the road - so we were very lucky to make it back before the weather closed in. 

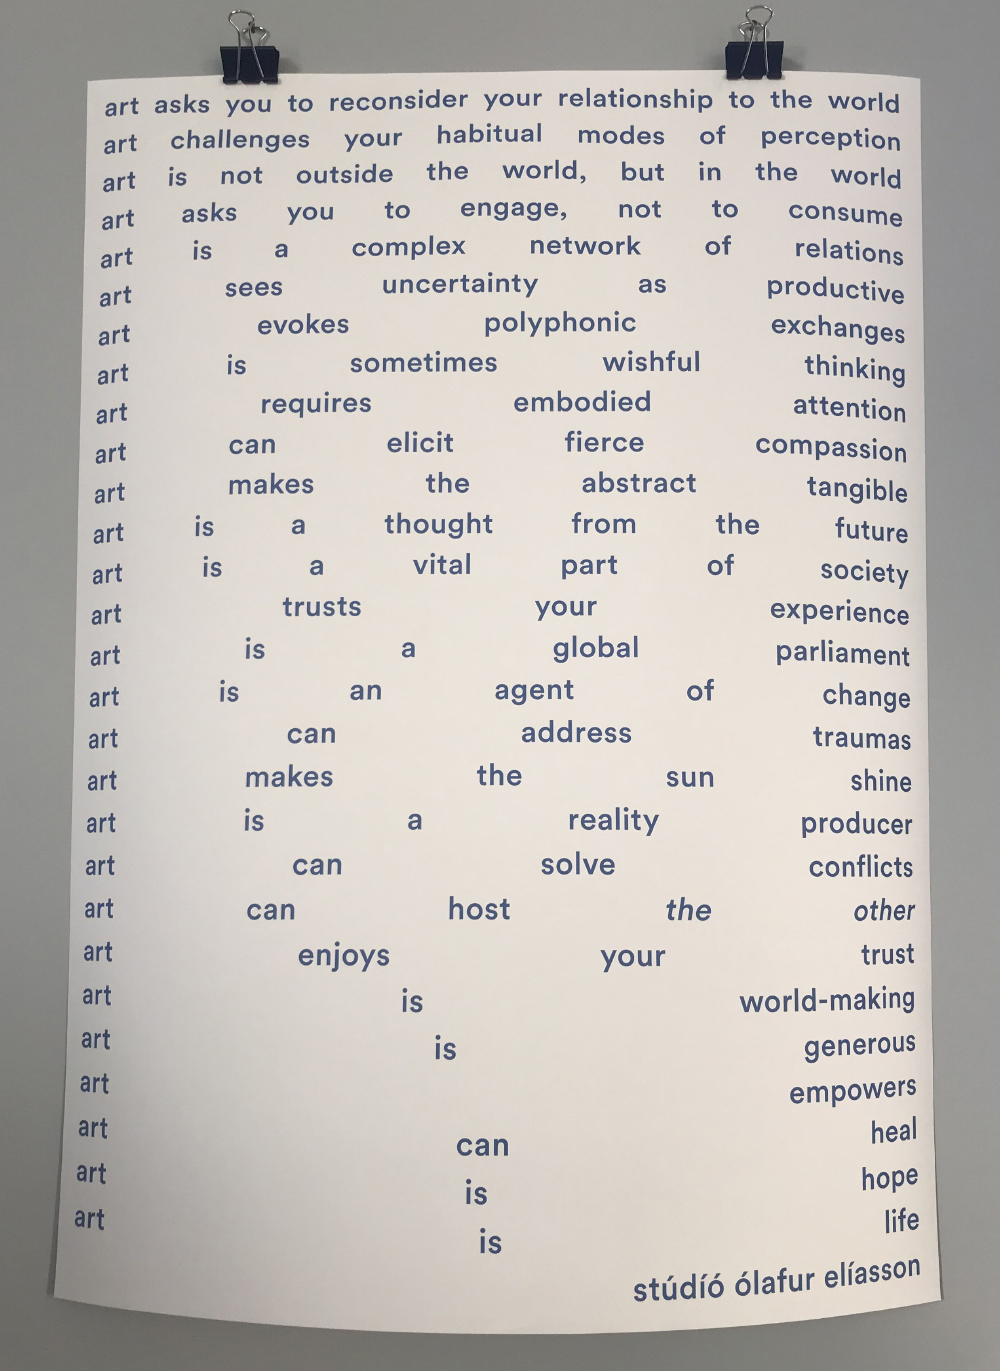
By Olafur Eliasson

Catching up on cultural sights around Reykjavik we discovered Studio Olafur Eliasson, who just happens to be one of my Art Heroes. His studio is open to the public, and whilst not a working studio as such, the space displays many of his designs and creations. 

For more images of my adventures find me on instagram 

Thursday, 16 November 2017

SIM residency wk 2 : in the studio and some culture

This past week has been less about touring and absorbing the sublime scenery (because I returned the hire car) and more about studio time and enjoying the atmosphere of the residency. 

We had a cultural day in Reykjavik where we enjoyed some fascinating exhibits, all for free thanks to the generosity of SIM who provide a card which allows access to the galleries and museums in the city. First stop was the Reykjavik Art Museum which had an inspiring exhibition by Anna Lindal - an artist who is interested in the private life and expectations of society; and the human desire to understand nature and analyze it through measurement. She limits her resources to what she can find in the home, making home the habitat of creation. 

Anna Lindal - embroidered cloth on buckets

Anna Lindal - suspended threads

Anna Lindal - wrapped rock
The Art Museum is in three different locations in Reykjavik (just to make it a little confusing). In another location was an installation of rocks covered in salt that had a coloured solution dripping on them. This was by Anna Run Tryggvadottir - unfortunately there wasn't much information about the exhibit - but it was visually fascinating!

Anna Run Tryggvadottir

Anna Run Tryggvadottir
We went on a day trip to Vik - a black beach in south Iceland, famous for its basalt columns rock formations. 


These images were taken during the middle of the day, around 1pm, although it feels more like late afternoon. Daylight is from 10am to 4.30 pm at the moment and it changes dramatically on a daily basis by about 3 mins. When we first flew in sunrise was 9.20am and sunset was 5.03pm. Amazing how different it is in just 2 weeks! 

In the studio
Meanwhile, in the studio, I have been experimenting with time-lapse photography, capturing the marks left behind using water colour. I have been manipulating it in After Effects. Im not exactly sure what the end result will be - but it is certainly fun to have the time to play and explore. 

Island in the fjord near the residency

Heavy clouds in the fjord

Studio breaks include walking in the fjord - the lighting and weather is fleeting - and the scenery is captivating. It reminds me of an old Queensland advertisement 'Beautiful one day, perfect the next' with its ever changing colours and moods.

Ombre snow on the beach
We also had the opportunity to meet with the other 11 artists who are on the residency and who are staying in central Reykjavik at an artist talk on Wednesday night. It was fascinating to see their work, which varies from illustration through to music and performance.

patterns in the snow
It is sad to think I only have one more week in this beautiful place. Do you have any suggestions on things I should see and do whilst I am here?


LinkWithin

Related Posts with Thumbnails