Showing posts with label cast. Show all posts

Thursday, 25 December 2014

Fence Studies: country town

My studies of gates and fences continues, this time focusing on the wrought iron gates found in a country towns across rural New South Wales.


Wrought iron is no longer produced on a commercial scale. They retain that description because in the past they were wrought (worked) by hand.


The word "wrought" is an archaic past participle of the verb "to work," and so "wrought iron" literally means "worked iron" as manufactured by a blacksmith.


Cast iron methods have been used since ancient times in China, but was not introduced to Western Europe until the fifteenth century. 


Wrought iron reached its peak in the 18th century however cast iron and cheaper steel caused a gradual decline in the manufacture of wrought iron. 


Mild steel is now the main material used for 'wrought iron' gates, mainly because true wrought iron is limited in its availability and generally the wrought iron available today is from reclaimed materials such as old bridges and anchor chains dredged from harbours.


One of the towns where I did photographic studies also has a number of lane ways, which I can only assume were for the removal of waste from outhouses. Strolling along these lanes I found a number of interesting ways of fencing boundaries.

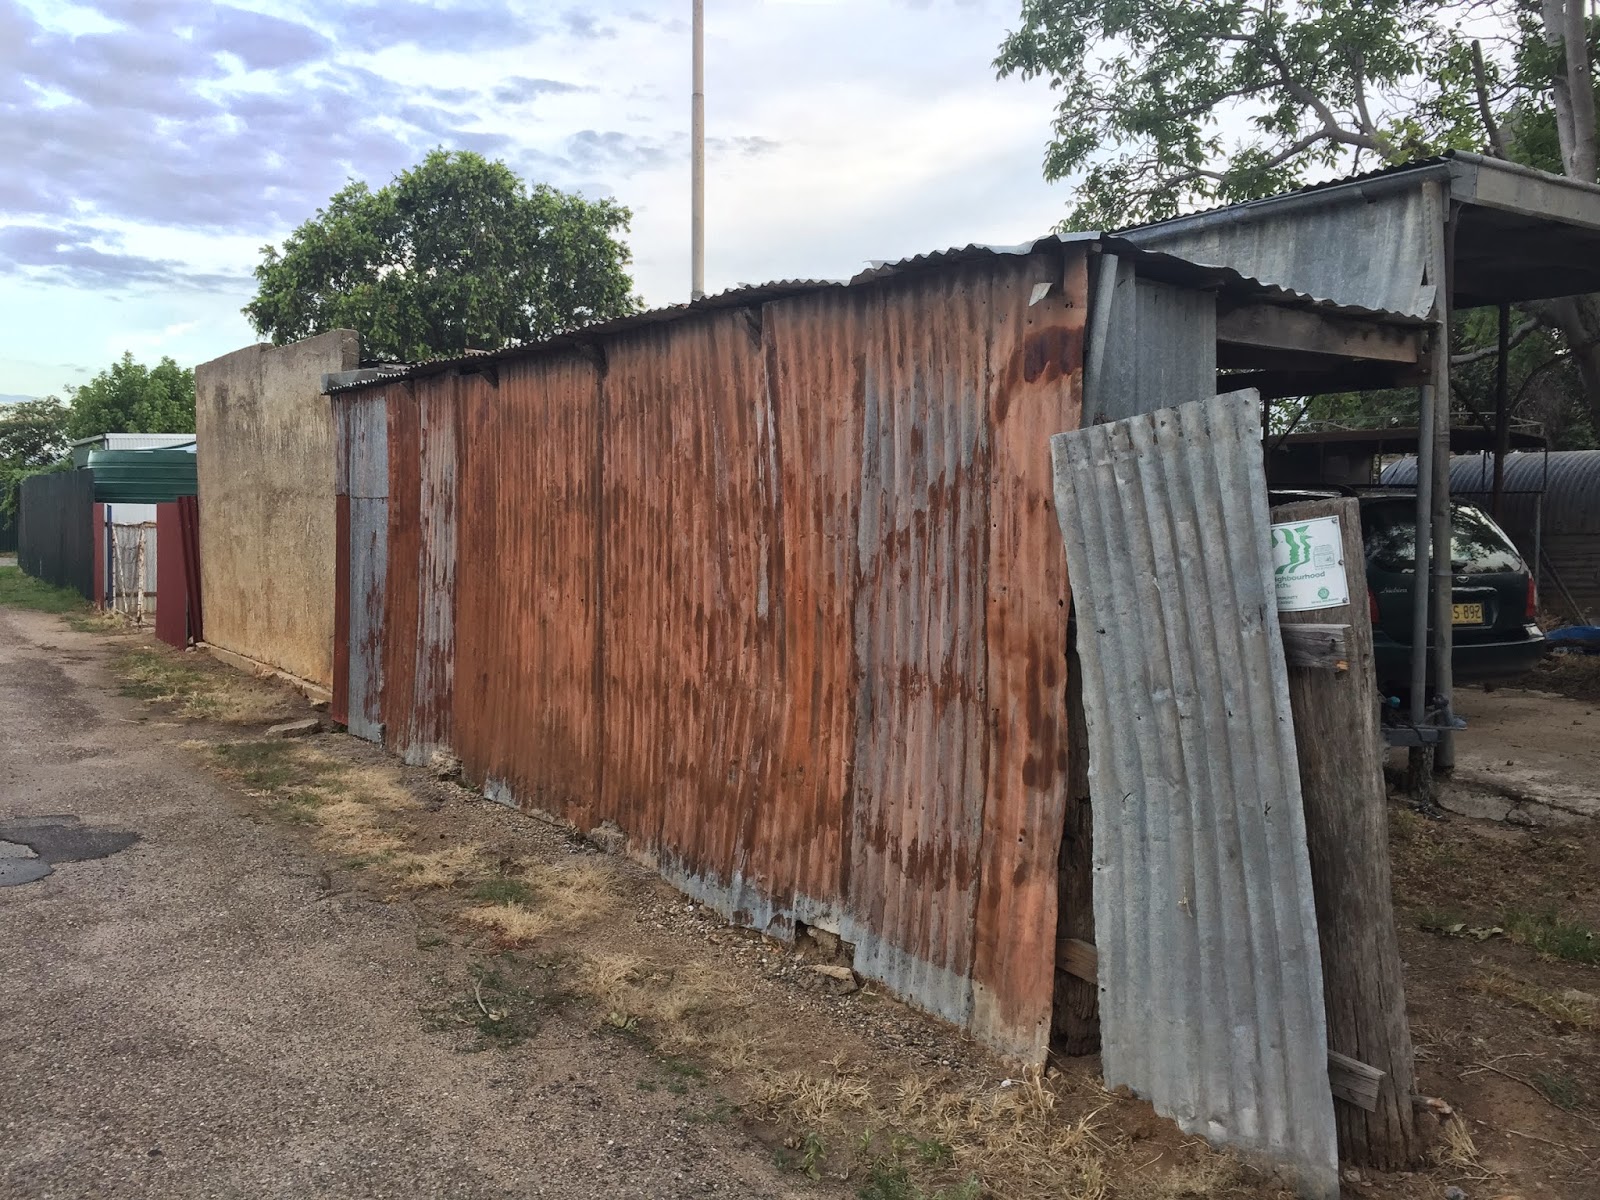

It also provided glimpses into backyards.... something Im always interested to see. There was also an abundance of fruit trees laden under fruit - particularly apricots. I have never seen such big large fruit in my life! 


This last image looks like an original wrought iron fence, it was found near a railway station. I particularly liked the way it was held together with metal pins. 

Thursday, 11 September 2014

Cuttle Fish Bone Casting

Summer is coming to an end and Im back at school. I have just started my Masters in Fine Art at NSCAD (Nova Scotia College for Art and Design). I am undertaking an interdisciplinary approach and will be working across ceramics, textiles and jewellery. 

As well as undertaking MFA courses, I am also polishing up on my jewellery skills. Recently I have been learning how to cast shapes in silver using cuttlefish bone as the mould. Cuttlefish bone is reasonably soft and it can be easily carved, or have objects pressed into it. 

Cuttlefish bone with a fork shape pressed into it.

I experimented with a few different shapes: fork, a piece of lego fence, and a twig. I discovered simple shapes work the best (because they highlight the striations of the cuttlefish bone that occurs naturally), and so I discarded the fence and twig idea and perfected the fork shape.

Cast silver fork shapes from the cuttlefish cast

 Generally the mould has only one pour (the heat of the metal burns away the cuttlefish bone and gives off a smell similar to burnt hair). The above image shows the first pour into the mould - notice I only achieved 2 of the 4 prongs (left).  On the right shows what happens if you use the same mould again. Much of the detail has been lost. Although this time I did get the four prongs.

Lego fence cast in silver and a twig

The above lego fence and twig were earlier shapes that I experimented with. Although the fence shape was relatively successful, I found that it the lovely cuttlefish bone striations were lost and so I discarded this idea.

My finished piece, another fork, was handed in last week for marking. It was finished with Black Jax to highlight the cuttlefish ridge striations. I totally forgot to take a picture but will post one as soon as I get it back.

Thursday, 24 April 2014

The Travellers - Antique Kitchen Strainers

The Travellers
Photography by Christina Arsenault 

At the beginning of the year I found some delightful antique kitchen strainers and I immediately fell in love with their shape and form. I wanted to incorporate them into my artwork and create something beautiful with them.

Incorporating metal wire (copper, brass and silver plated that has been patina'ed) each antique strainer contains or carries a machine embroidered heart, that is incased in a resin house shape.


They certainly have character and have developed a life of their own. They became the inspiration for some stop motion animation, ending up in my 3 and a half minute animation, The Drive.

Finally I have finished a family of three 'Travellers'. Here they are


The Travellers
Photography by Christina Arsenault 

The Travellers
Photography by Christina Arsenault 

The Travellers
Photography by Christina Arsenault 


Thursday, 10 April 2014

Resin and Machine Embroidery

Heart houses 2.5 x 4 x 2.3 cm

I have been experimenting with machine embroidery, hand embroidery using reflective thread and embedding it into clear resin.


landscape embroidery embedded into a shape created from an antique hand saw

To create my own resin moulds I have been using a two part moulding paste (Pebeo silicon moulding paste) where you mix equal quantities of the blue and white paste for a minute until a uniform colour appears. It is quick to use and sets in about 5 minutes and is a little like working with oily Fimo (or polymer clay).

two part moulding paste house moulds

And I have worked with 2 different brands of resin: Pebeo Gedeo Crystal Resin and Castin' Craft Clear Polyester Casting Resin. Interestingly there was quite a bit of difference between the two. 

Pebeo Gedeo Crystal Resin took 24 hours to cure, was frosty where it came into contact with the mould and relatively smell free. I quite liked the 'softness' in the quality of the frostiness of the Pedeo Gedeo Crystal Resin, it is reminiscent of the sea washed glass you find on the beach. 

Castin' Craft Clear Polyester Casting Resin cured to the touch in less than 24 hours, was crystal clear even when it came into contact with the mould and was incredibly smelly. This one definitely needed to be used in a well ventilated space!  

House embroidery
embedded into the shape created from an antique hand saw

Whilst working with resin I discovered that you can:
  • sand it with sand paper (this gives you a frosty look) and also helps even out any unwanted lumps and bumps
  • paint it clear varnish (I used nail polish) which turns the sanded areas clear again 
  • speed up the curing time by placing it in a warm oven (preheated to 80 degrees C for 15 minutes) this process also encourages any bubbles to come to the surface and disappear

Thursday, 20 February 2014

In the studio: slip casting and a change of direction

I have spent the past couple of weeks experimenting with different ways of making, and decorating  slip cast bowls.

Bowl mould circa 35cm dia.
Various methods of decoration included painting coloured underglaze directly onto the plaster bowl mould (above) or onto a flat slab, which was then transferred to the bowl mould (below). A layer of cheese cloth was embedded in the slip which provided strength whilst transferring the clay slip from the flat slab to the bowl mould. The cheesecloth then burns away during the firing process.


I also explored different methods of colouring the slip and ways of layering the colours into the moulds.


Unfortunately the results always ended up like this:


Breaking whilst drying in the mould, breaking during the bisque firing, and the one that made it through to the glaze fire also shattered.

I decided that the universe way trying to tell me to work in a different way, so I have changed my direction completely, and have started to make bowls in a much more solid form.

Geology slab bowls roughly measure 20 x 20 x 30 cm

The idea is that they look like they have been roughly hewn from the ground, with a bowl hollow carved into the 'rock'.


This then led to the idea of creating strata layers within the rock-like slabs. I added red iron, raw sienna, and yellow ochre to the clay.


The result is a much more substantial bowl, and Im excited in the direction my work is taking.  

Fingers crossed it survives the firing. Next, to experiment with glazes that replicate rust!


Thursday, 16 January 2014

In the studio: making clay and casting moulds

I have been learning to make my own clays from scratch. This is a very exciting development because I generally buy my clays in big blocks that are ready to use. So far I have made a white porcelain clay for throwing and a white porcelain slip that both fire to cone 6.
Mixing the clay bodies
 I have also been creating complex (for me anyway!) four piece moulds of food tins.

Four piece mould of a small tin of tuna.

Four piece mould of a larger tin that contained ravioli - I think. 
The tins are a confutation of my exploration of the themes of pioneers. I am particularly interested in the notions of isolation, communication and what the first settlers were reduced to eat in new and inhospitable countries.

Watch this space as my ideas progress. Exciting! :)


LinkWithin

Related Posts with Thumbnails