Showing posts with label art. Show all posts

Friday, 4 May 2018

The Cat with the Mona Lisa smile

Mr Whiskers by Ruby
Acrylic on Canvas
2018

My youngest student Ruby has been working on a painting of her cat, Mr Whiskers, for the past month. 

This painting explores colour theory and she choose complimentary opposites on the colour wheel (orange and blue) to understand how placing a cold colour next to a warm colour makes some things recede whilst other parts of the painting pop out. 

The distinction between warm and cool colours has been important since at least the late 18th century. The contrast is related to the observed contrast in landscape light, between the warm colours associated with daylight or sunset, and the cool colours associated with a grey or overcast day. Warm colours are often said to be hues from red through yellow, browns and tans included; cool colours are often said to be the hues from blue green through blue violet, most greys included. 

Many artists use this to lead the eye around the canvas and give their paintings depth. For example, Vincent van Gogh used this technique often in paintings often using bright blues next to clear yellows for vibrancy. 


Thursday, 4 January 2018

Lucky the Cat

Lucky the Cat by Sam
12 x 16"

I have started teaching private art lessons to children where they learn the concepts of colour, texture, composition and technique. Art is a fabulous way to develop fine motor skills whilst developing problem solving skills.

We have been learning colour theory and applying this knowledge to our images, using complimentary opposites to create a colourful image with depth. Working from images of their favourite pets, I encourage the use of our imaginations whilst assisting them to really observe the world around them.

We also touch upon Art History and in this project employ dynamic brushstrokes and colour mixing on the canvas in a similar style to Vincent Van Gogh. 

The above image was painted by Sam, who is 10 years old. I think she has done a fabulous job painting her cat Lucky! 


Sunday, 11 December 2016

Winter Craft Courses at NSCCD


I will be teaching a number of classes at the Nova Scotia Centre for Craft and Design as part of their Winter 2017 program. 

Irresistible Dye Techniques
Image of dyed fabric by Sarah 

Simply Irresistible Dye Techniques
Mondays, January 23 – February 27 
6:30-9:30 (18 hours/6 weeks)
$185 + materials fee $50 payable to the instructor on first day of class
Class Size: 6 (no experience necessary)

Registration Closes January 16

Simply Irresistible covers a variety of resist dye techniques including the Japanese art of shibori (stitching, wrapping, and knotting), and ombré gradient methods using indigo. We will create silk wool and cotton samples using natural dyes and experiment with alternative dye methods such as rust. Thermo-treated techniques to create three dimensional works through the use of heat are demonstrated. 

Prints Charming Screen Printing
Image of screen print by Willa

Prints Charming
Saturdays, February 11 – March 4
1:00-4:00 (12 hours/4 weeks)
$125 + materials fee $50 payable to the instructor on first day of class
Class Size: 6 (no experience necessary)

Registration Closes February 6

Design and print your own fabrics! In this course we will use screenprinting, block printing and various resist methods. This course will encourage artistic exploration of ideas using basic colour theory to mix your own colours and experiment with transparent and opaque print pastes. The skills developed in this course can be applied in the studio or on the kitchen table. 

Design and Print your own tea towel
image of block print by Natasha


Design and Print Your Own Tea Towel 
Saturday & Sunday, January 28 & 29
1:00-4:00 (6 hours/2 days)
$60 + materials fee $50 payable to the instructor on first day of class
Class Size: 6 (no experience necessary)

Registration Closes January 23

NEW! In this two-day course students will explore shapes, colours, and layering using simple stencils to create their own personalized tea towels. 

Furoshiki wrapping cloth
Image of design by Kate 


Furoshiki (Japanese wrapping cloth)
Saturday & Sunday, April 1 & 2 
1:00-4:00 (6 hours/2 days)
$60 + materials fee $50 payable to the instructor on first day of class
Class Size: 6 (no experience necessary)

Registration Closes March 27

Students can make their own reusable and recyclable Japanese wrapping cloths, both beautiful and functional used for a lunch bag, ecowrapping technique, or clothing garment. Students will experiment with different resist dying techniques using indigo dye on silk and cotton fabric. 

Zen Stitching
Image of design by Ingeborg


Zen Stitching: Embroidery as Textile Art
Sundays, February 26 and March 5 
1:00-4:00 (6 hours/2 days)
$60 + materials fee $30 payable to the instructor on first day of class
Class Size: 6 (no experience necessary)

Registration Closes February 19

NEW!  Embroidery can be a traditional, sustainable, a simple repetitive act, allowing time for reflection and bringing a meaningful and thoughtful approach to textile practice. In this two-day course students will explore ways in which to slow down by using simple techniques, reusing and re-inventing materials and limiting equipment. Take the time to think about the practical and decorative techniques of mending.

To enrol in any of these courses, call Alexis, the Studio Coordinator, at 902-492-2524

Or register in person! Come see us at 1061 (Mary E Black Gallery) or 1096 (The Studios) Marginal Rd.


Thursday, 29 October 2015

222 Grips for a Stone (27-35) Melting experiments

The exploration for 222 Grips for a Stone (or mineral) continues. 

I have been giving a lot of thought to the definition of a stone and mineral and it is becoming increasingly broader scope - which is great because I am continuing to find more ways to develop my material exploration.

Glass consists of minerals and I am interested exploring the effects it has when bound by wire and then placed in the kiln.


I started my explorations working in the enamelling kilns, and my first lot of experiments did not heat up enough. The kiln sat around 1500 degrees farenheight and the only result was a softening of the edges of the broken glass. Which was interesting, but not the effects I was looking for.

#28 of 222 Grips for a Stone before melting

#28 of 222 Grips for a Stone 

My next lot of experiments were undertaken in a different enamel kiln where the heat is stronger, and a little more unpredictable. The kiln heated to about 900 degrees centigrade and within minutes my glass was starting to melt. 

#30 of 222 Grips for a Stone detail

With the idea of griping the glass by wrapping it with wire, I was also interested in exploring the idea where the glass also starts to grip the wire, by melting the wire into the glass.

#31 of 222 Grips for a Stone

Ideally I would like to capture drips like rain water. This is as close as I have gotten so far. 

#33 of 222 Grips for a Stone

In this last experiment the glass almost entirely melted away from the wire binding and slumped onto the copper metal below. 

The experiments are taking my work in an exciting new direction and I am looking forward to upscaling so that they are about house brick size. 

Thursday, 8 October 2015

Teachers Assistant: Introduction to Ceramics

As part of the MFA program at NSCAD I have the opportunity to be a Teachers Assistant. This is to observe and experience teaching in the classroom. 

The MFA program is geared towards teaching as an opportunity after graduation and there is also the opportunity to propose and teach your own course.


This semester I am the teachers assistant for the Introduction to Ceramics Class. The class is focusing on hand building and one of the first assignments was to build a wig of clay that would be large enough to fit the students head.

Below are some of the wigs before being fired to bisque firing (first firing). 


Some have been painted with coloured underglazes, which will remain that colour during the firing. 


The class is taught by internationally renown Neil Forrest. Neil divides his time teaching in Nova Scotia and Scandinavia and specialises in large scale ceramics. He is particularly interested in the built environment and how ceramic sculptures interact with architecture.

Thursday, 3 September 2015

222 Grips for a Stone (14-16)

222 Grips for a Stone exploration continues....

222 Grips for a Stone
#14

#14 was made from a piece of wood with nails found in the back yard. I found the perfect stone to balance on the nails. Serendipitously it rained just before I took the photo and I like the addition of the water droplets.

222 Grips for a Stone
#15 

#15 is made from slate collected from the drive way and a piece of weathered wood found in the back yard.


222 Grips for a Stone
#16

#16 I found a rusty spring on on my wanderings around the streets of Halifax. I found the perfect bit of stone and wood to fit within the spring.

Thursday, 27 August 2015

222 Grips for a Stone (7-13)

Ive been progressing slowly this week with the continued exploration of 222 grips for a stone.

222 Grips for a Stone
#8


Im trying to restrict myself to using natural materials and/or objects that have been found in the environment.

#8 was a rusty metal piece I found on the streets of Halifax last winter. Its been sitting on my bench for quite some time as I admired it, but wasn't quite sure what I wanted to do with it. And then, I found the perfect stone to fit inside it.


222 Grips for a Stone
#9

I have been wanting to try viking knitting for quite some time. #9 is my first attempt using silver wire. I like how the stone becomes naturally polished from being handled.

222 Grips for a Stone
#10

Similar to viking knitting, #10 is created using a home made knitting nancy constructed from a toilet paper role and some popsicle sticks taped to the sides. 


222 Grips for a Stone
#11

#11 is my favourite from this series. I like the highlight of yellow lichen on the stick. And the shape of the pebble.


222 Grips for a Stone
#13

And I have even started exploring growing crystals in and around wire structures. #13 contains a crystal made from Alum.

Working through these ideas is exciting and each one generates and sparks new ideas that shoot off in different directions. Some I would like to enlarge and turn into sculptures, others I would like to translate into jewellery, whilst some ideas could be reinterpreted into ceramics. 

222 Grips for a Stone is going to be a fascinating adventure of exploration and discovery!

Thursday, 20 August 2015

222 Grips for a Stone (1-6)

As a parting gift at the Ground Now workshop by Ruudt Peters we were each given homework to continue our investigation into materials and methods of working. These were generally a follow on from our last piece of work created in the final day of the workshop. 
In my case it was a progression of the ring exploration I was undertaking. My homework was to explore 222 Grips for a Stone (or mineral).

222 is a favourite number of mine, however it is a massive undertaking to try and explore this many grips for a stone. I have made a start... here's the first 6, only 216 to go!

222 Grips for a Stone
#1

222 Grips for a Stone
#2

222 Grips for a Stone
#3

222 Grips for a Stone
#4 
222 Grips for a Stone
#5

222 Grips for a Stone
#5

222 Grips for a Stone
#6

Thursday, 13 August 2015

What Grounds You?


One of the projects we had to do at the Ruudt Peter's Ground Now workshop was to make a 1 minute video on what grounds us. We paired up in teams and were allocated half a day to work on it. This is my interpretation on what grounds me. 

Thursday, 6 August 2015

Ground Now Workshop with Ruudt Peters

Windmills in Holland
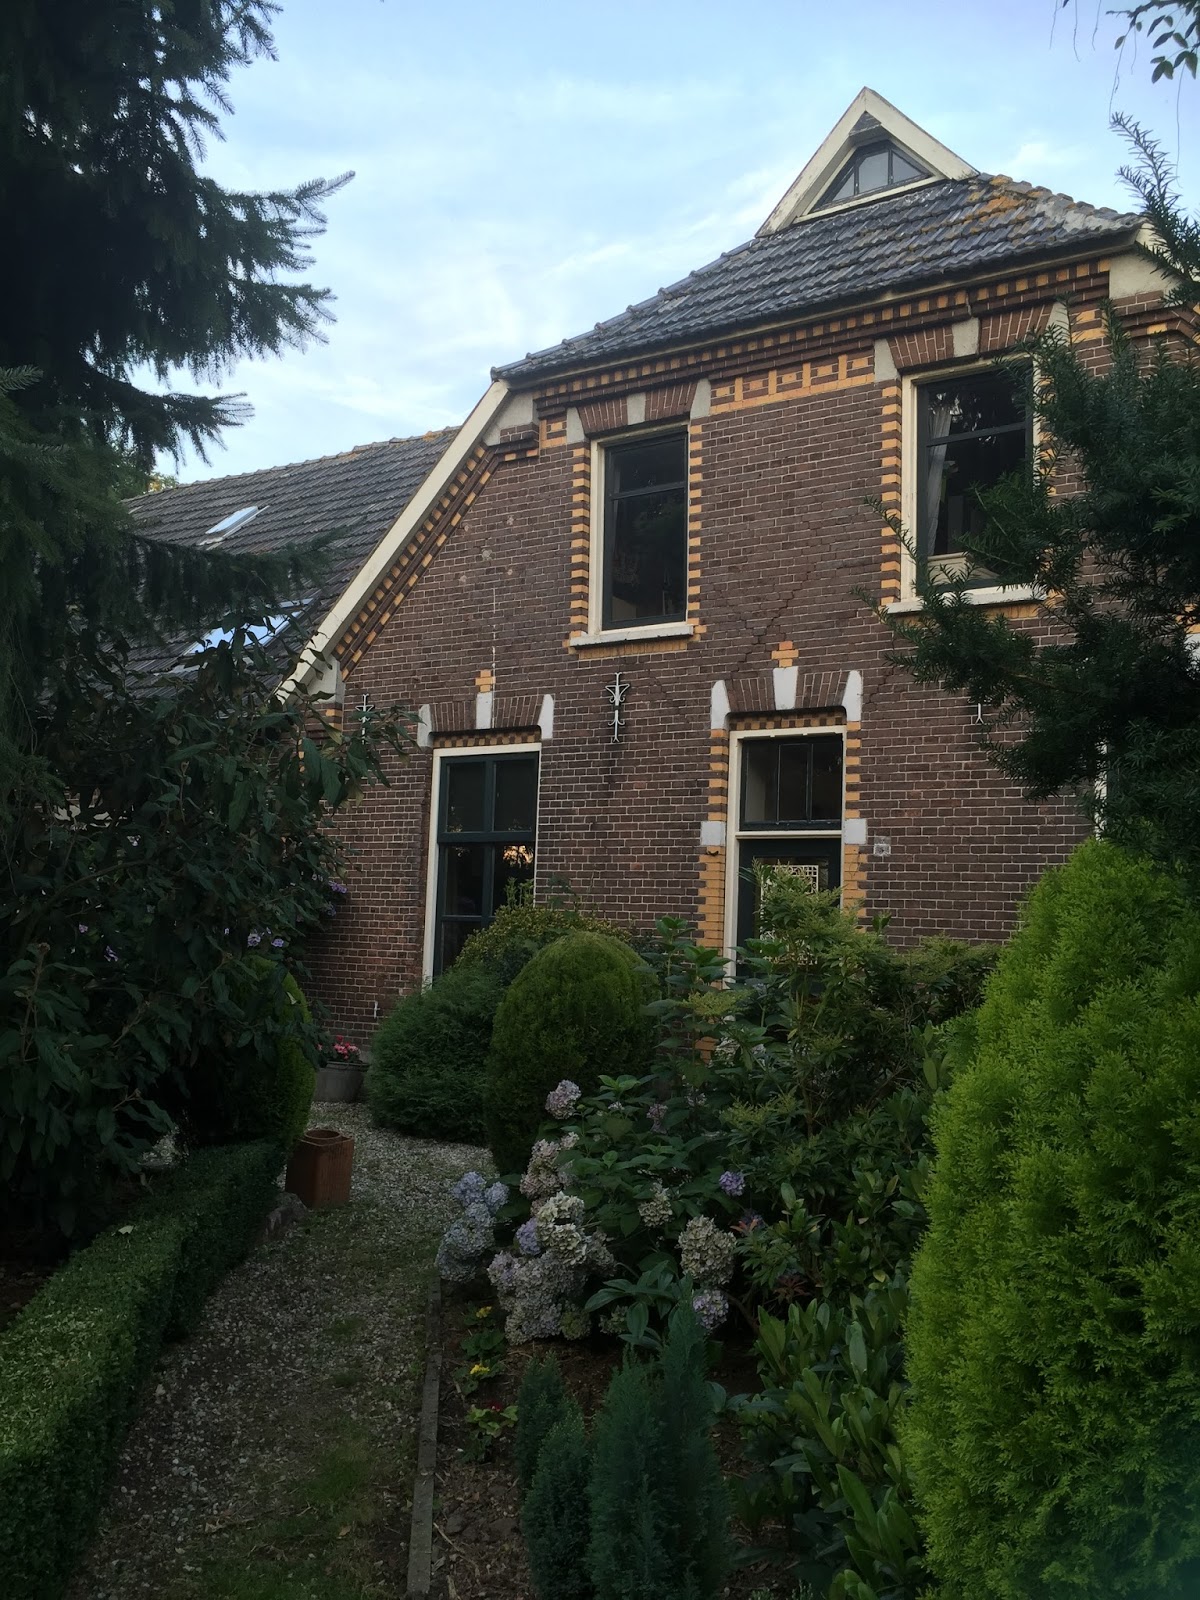
I was invited to participate in Ruudt Peter's Ground Now workshop that was held in the countryside in the south of the Netherlands from 3-9 August 2015.

The FarmHouse 
Ruudt has been a professor at two of the most prestigious universities in Europe, the Gerrit Rietveld Academie in Amsterdam and Konstfack University of Arts and Crafts in Stockholm. He has extensively exhibited his work, which can be found in many public and private collections around the world.

In short, he is a rock star in the art world!

Studio Garden 
The Ground Now workshop is intended for artists who seek to deepen their work and I was with an international group of artists from Moldova, Korea, New Zealand, America, Trinidad and Holland to name a few.

Table set for lunch
The theme of the workshop was 'Ground Now' with a focus on our feet. Often we are not aware that our feet do more than transport us. They can be used as tools and also assist to connect us to the ground.

My pair of shoes made from natural materials (leather, feathers, ivy)
We had to make a pair of shoes using natural materials ahead of the workshop. Being in Florence I used materials that were readily available : an old leather jacket someone had discarded, pigeon feathers and ivy.

Modelling my shoes
Image by Lucienne Buga 
These were then swapped with another workshop participant (Fiona) who manipulated them. Fiona joined the leather and ivy shoes together and painted them.

Shoe manipulated by Fiona.
Afterwards they were buried in the shoe grave yard.

The shoe grave yard.
 The the theme 'Ground Now' we focused on our feet as both the inspiration for our drawing and creating of objects, as well as using our feet to make images.


We also had blindfolded drawing assignments, and drawing responding to touch. These exercises were to assist us to work with 'the belly' or the unconscious, rather than our rational logical brain. 

Ruudt interpreting a blind drawing.

 We had many different experiences and assignments over the course of the week. A highlight for me was a visit to the local church that was constructed on ley lines (ancient earth lines of energy that connect spiritual sites across Europe).

The Old Church
 Using divining rods we were encouraged to find the energy lines in the area. Excitingly (and also a little mysteriously, which gave me goose bumps) most of us responded to the energy on the site. I even found the point at which the energy line entered the church site.

Searching for ley lines 
 We were also encouraged to select a natural material and spend the day investigating its potential, exploring how it reacted to different treatments. I chose to work with the discarded leather jacket, and undertook a series of treatments that involved burning, binding or boiling the leather.

leather bound around rocks using copper wire.
The results of boiling leather
boiled leather samples
The results of the experiments were exciting and often unpredictable. I found that boiling leather for 10 minutes was the most effective and it would shrink around objects, become hard and hold its shape.


Others experimented with bamboo, rice, paper, fabric, paperbark, and metal. 

My Opal ring
 We were asked to bring along an object that grounds us. I chose my Australian Boulder Opal ring, which was given to me by my Nan, and I like it because I have a piece of Australia with me whenever I travel.

the first interpretation of my ring.
 Using the ring as inspiration we had to copy it using natural materials. Because my object was so small, Ruudt encouraged me to work big.


second interpretation of ring
 Once we made the first interpretation, we had to make an interpretation of the interpretation. My second one wasn't as successful, and so I was encouraged to make more.

Third interpretation of opal ring

Fourth interpretation of opal ring
Whilst the workshop was intense (we started at 7.30am every morning with meditation and finished around 11pm after sharing a communal meal) I thoroughly enjoyed every bit of it. The environment was amazing, and it was lovely of Ruudt to share his studio space with us. The other artists participating were also wonderful and I got to know some very talented and clever people. And the best bit was that I was encouraged to grow and expand my artistic practice.

For many more images of our workshop experience visit Ruudt's Facebook page.

LinkWithin

Related Posts with Thumbnails